Building Science

How do I fix my crawlspace?

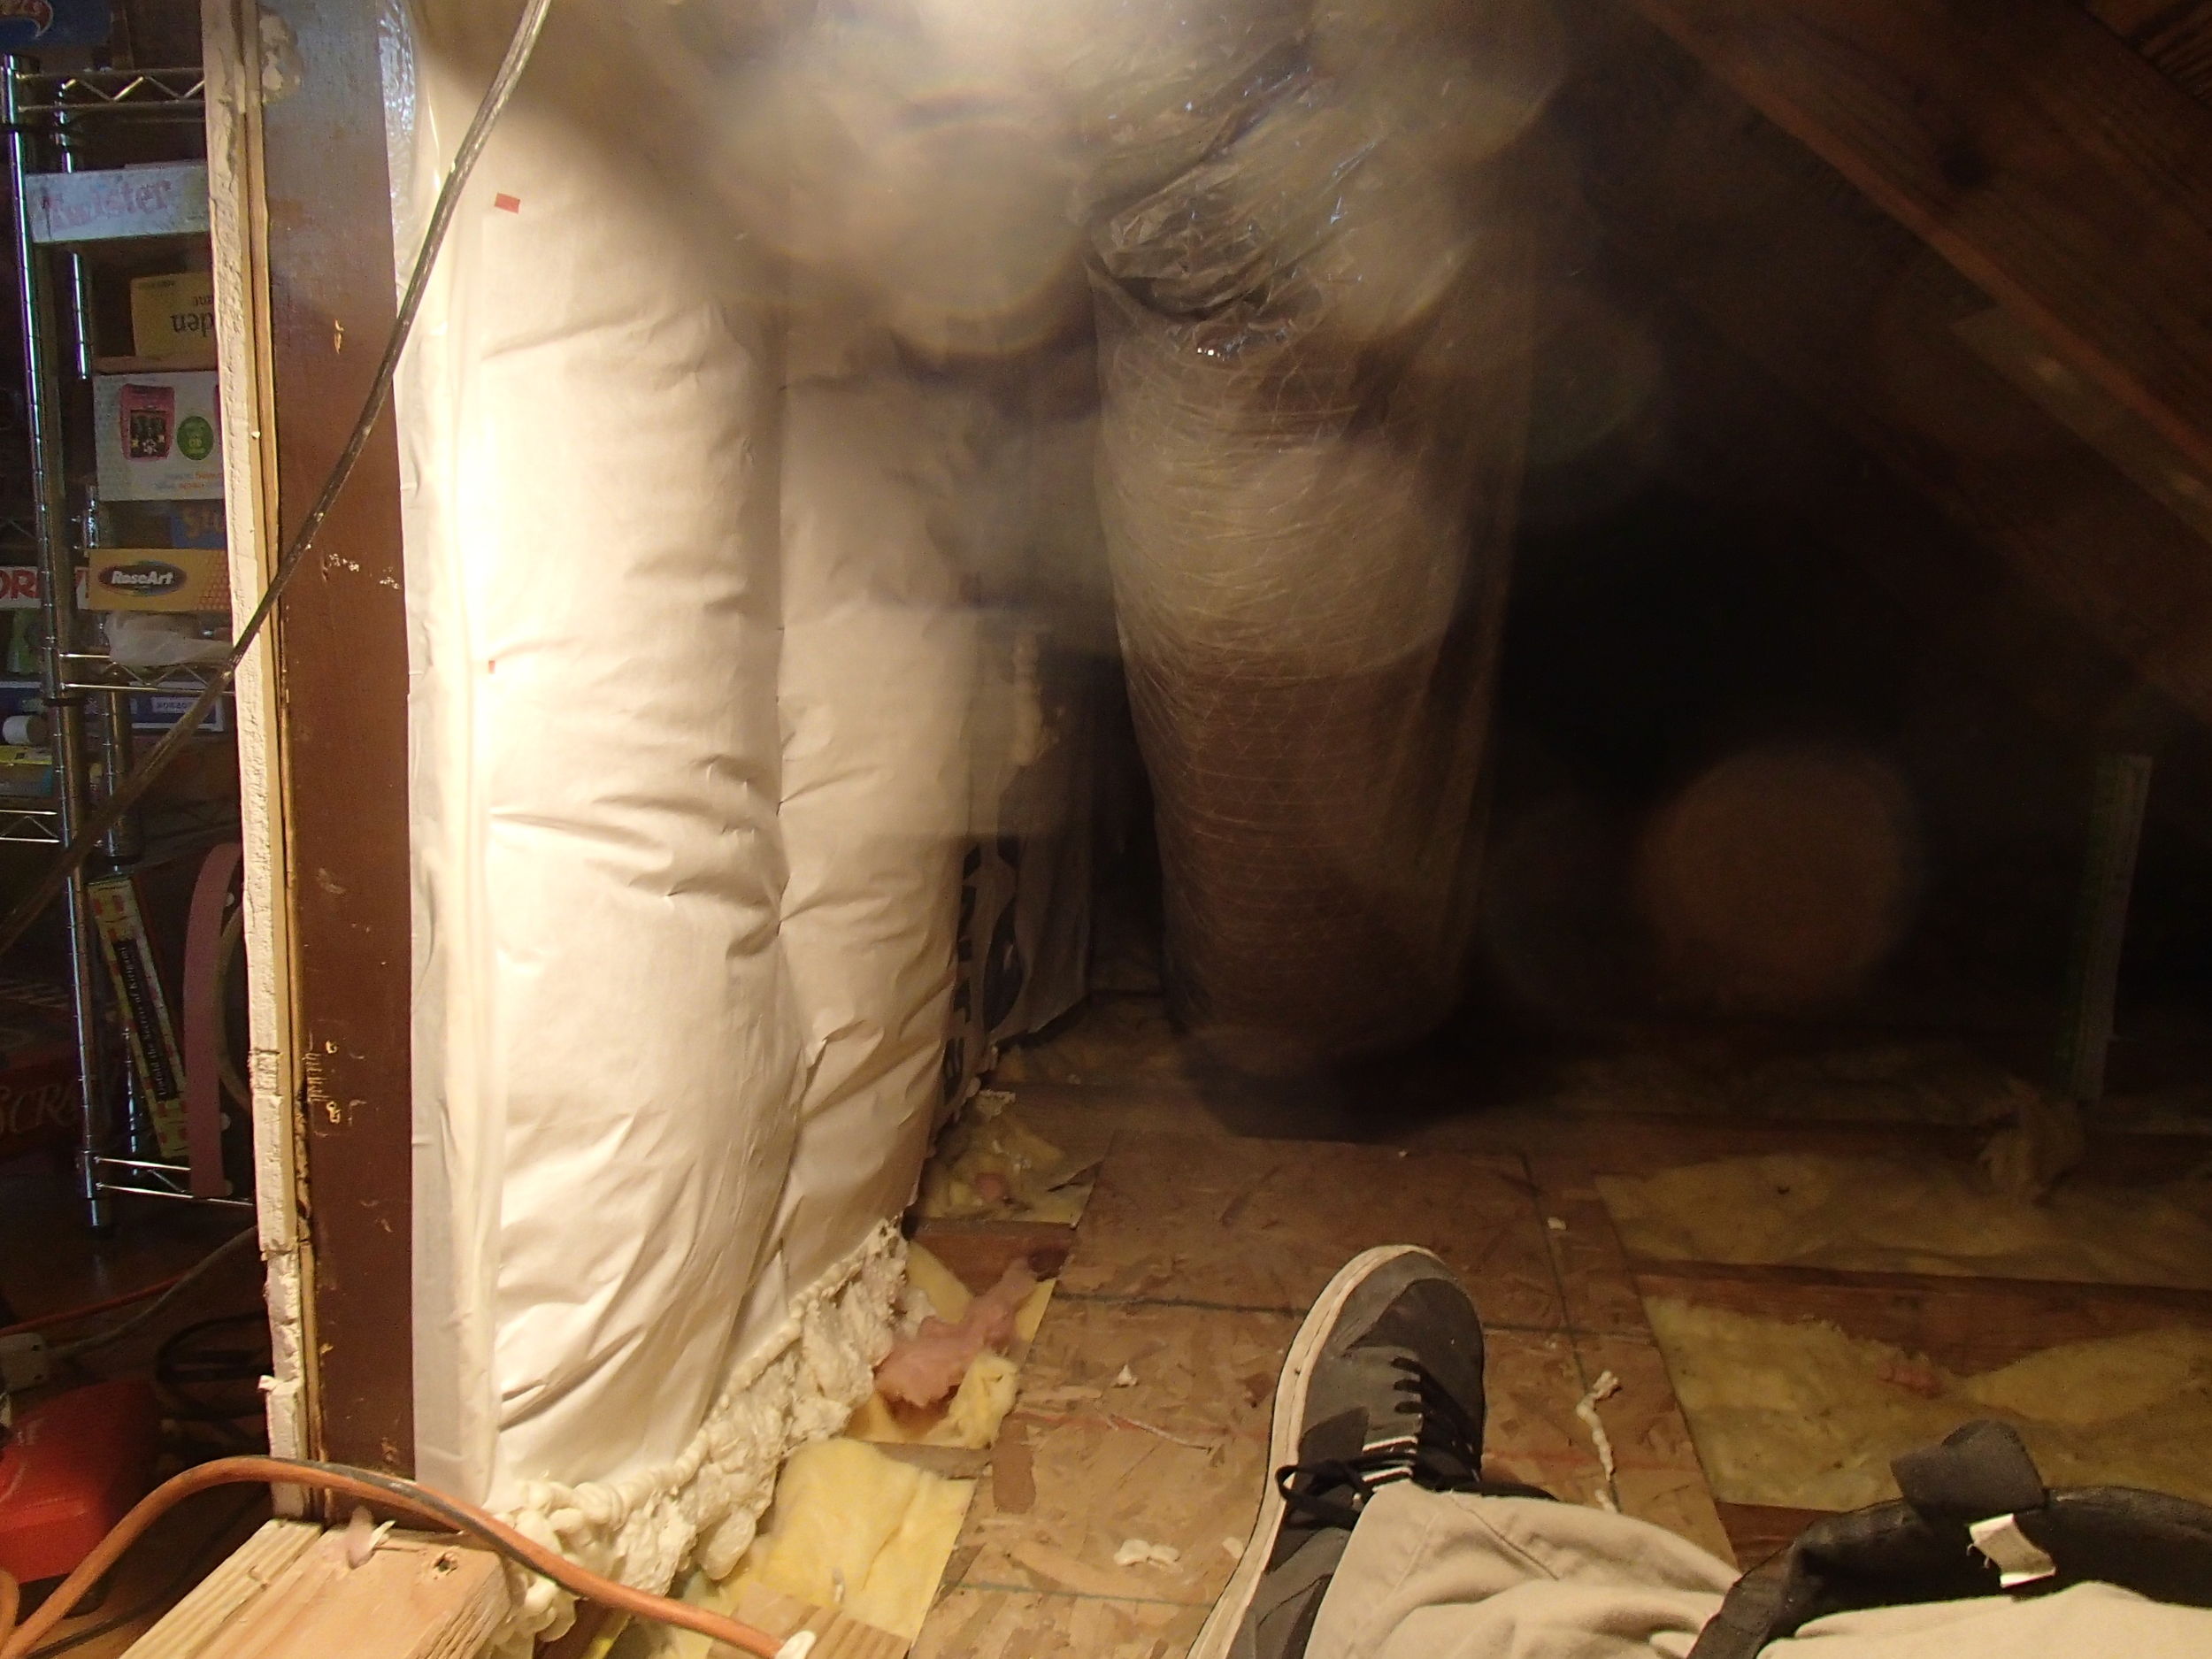
Crawlspaces are usually dirty, cramped, and inefficient. Ever since builders decided to put a 4 foot high 'basement' under a living space (just enough so you can get in there to address plumbing / electrical wiring but not be able to use it for storage or living space, you know, that perfect amount of useless) homeowners have tried to figure out what to do with these spaces. 

Not sure what we're talking about? Here are some pictures!

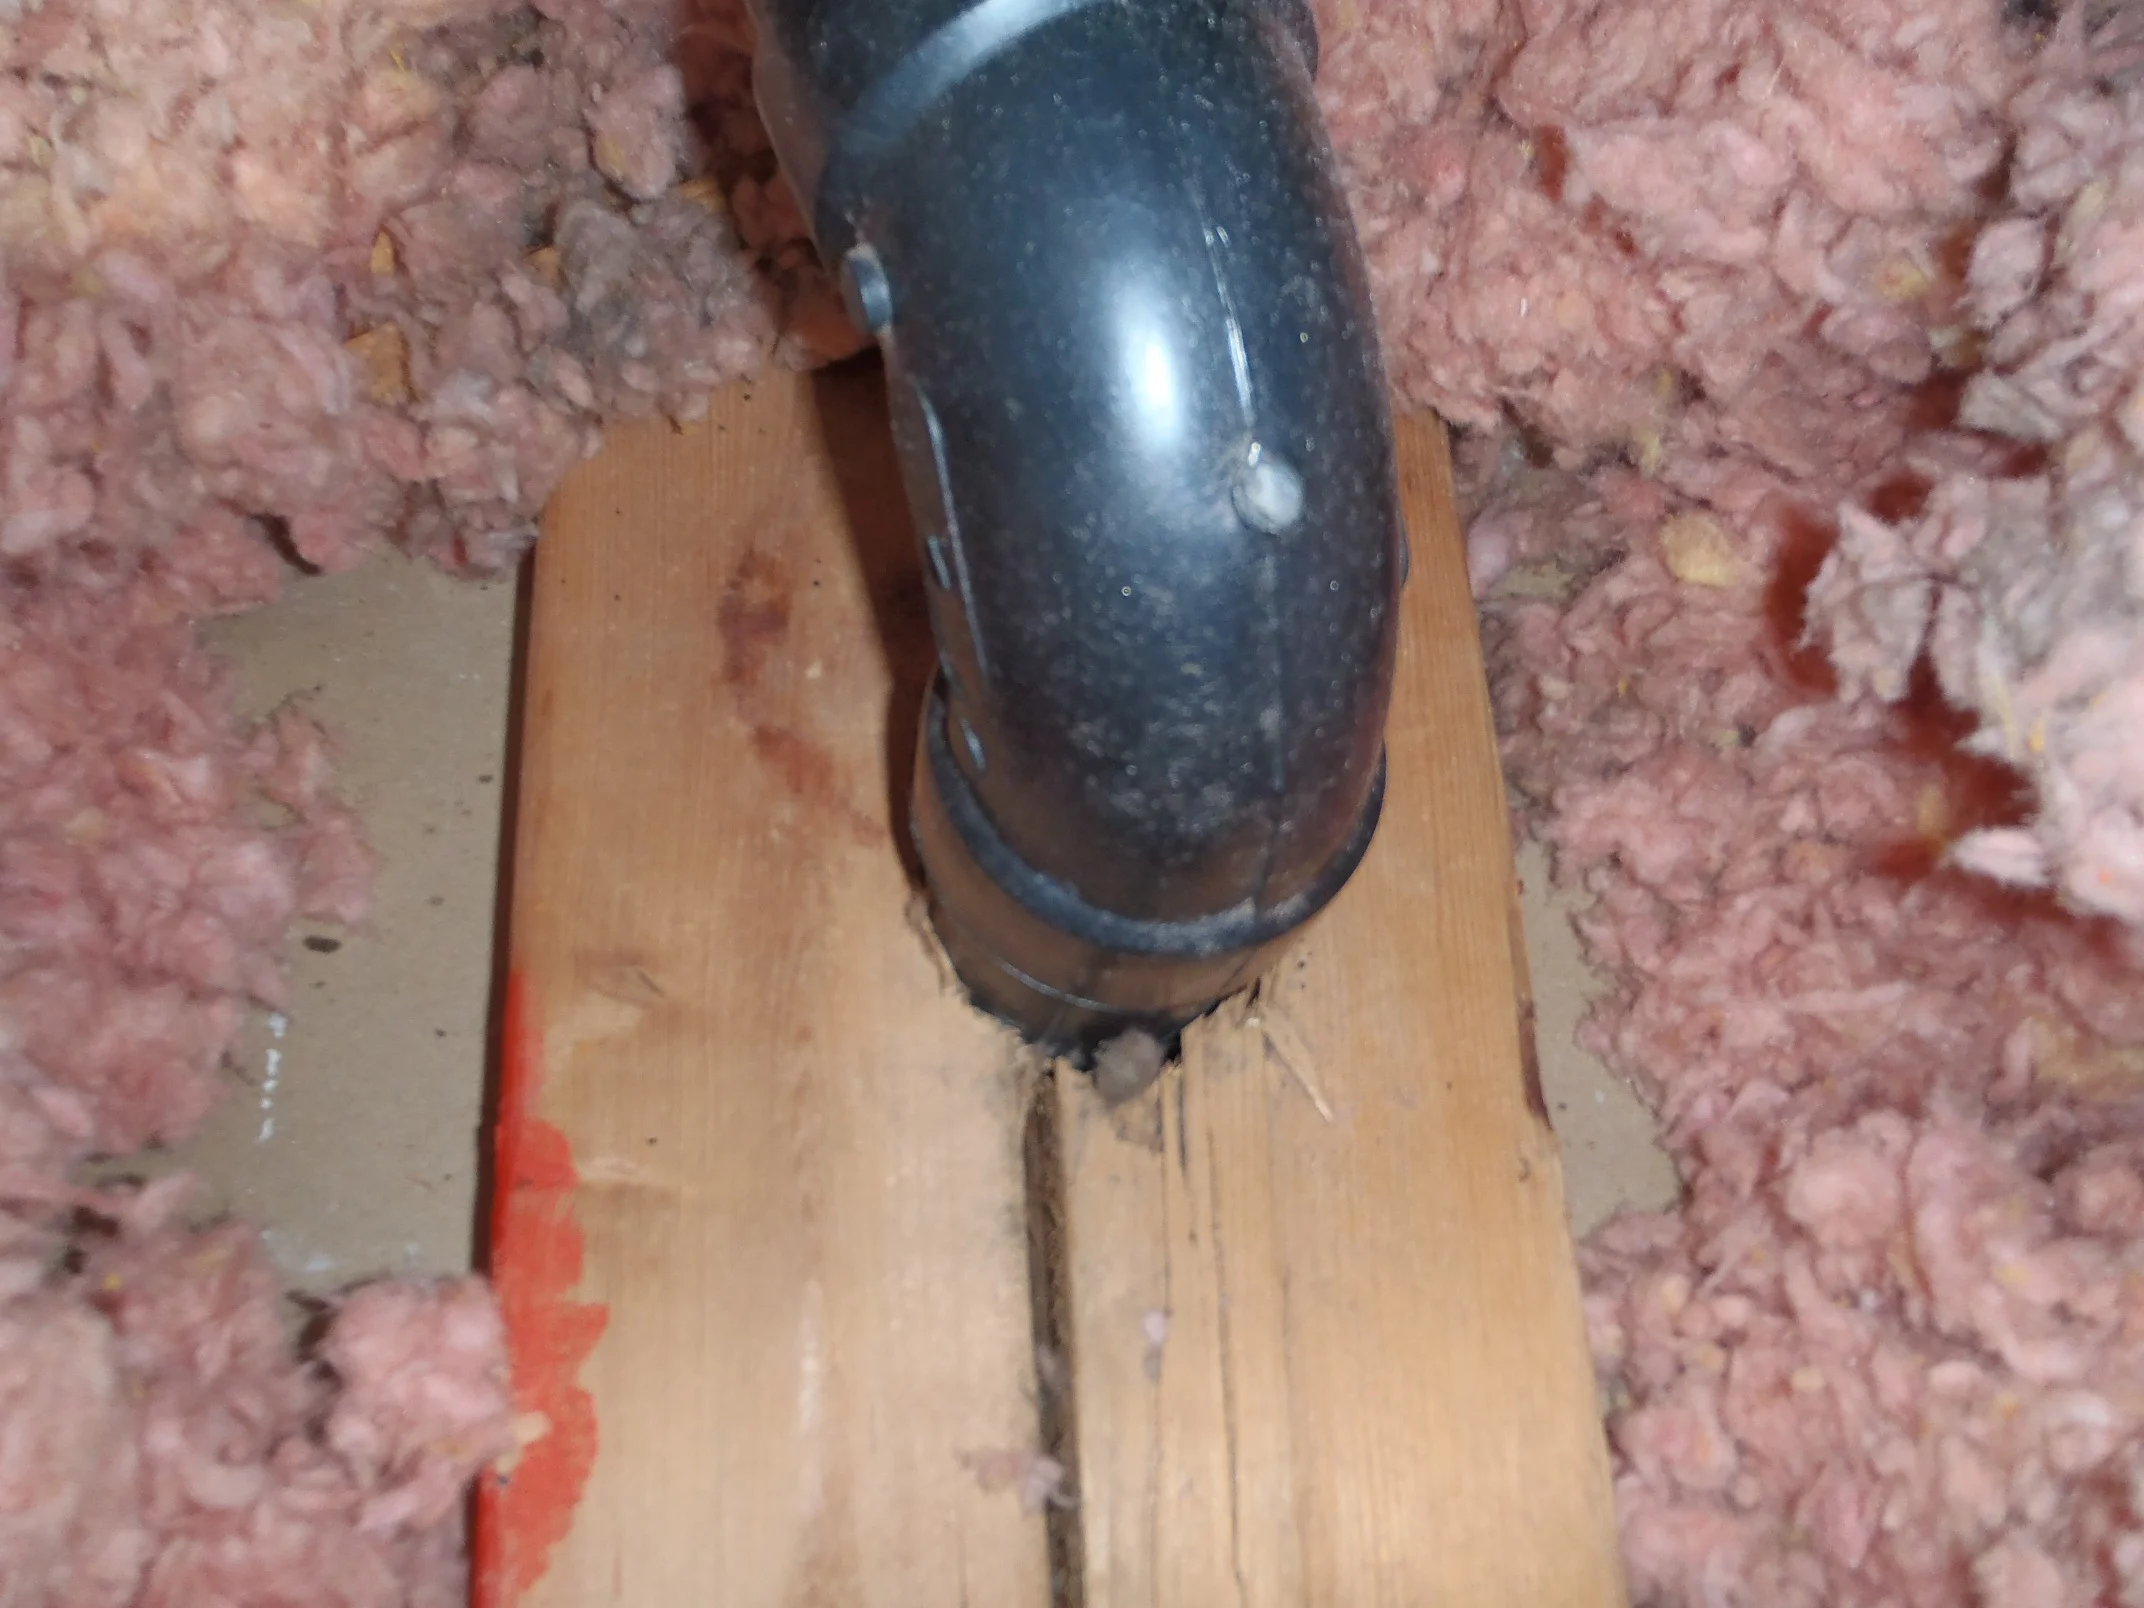
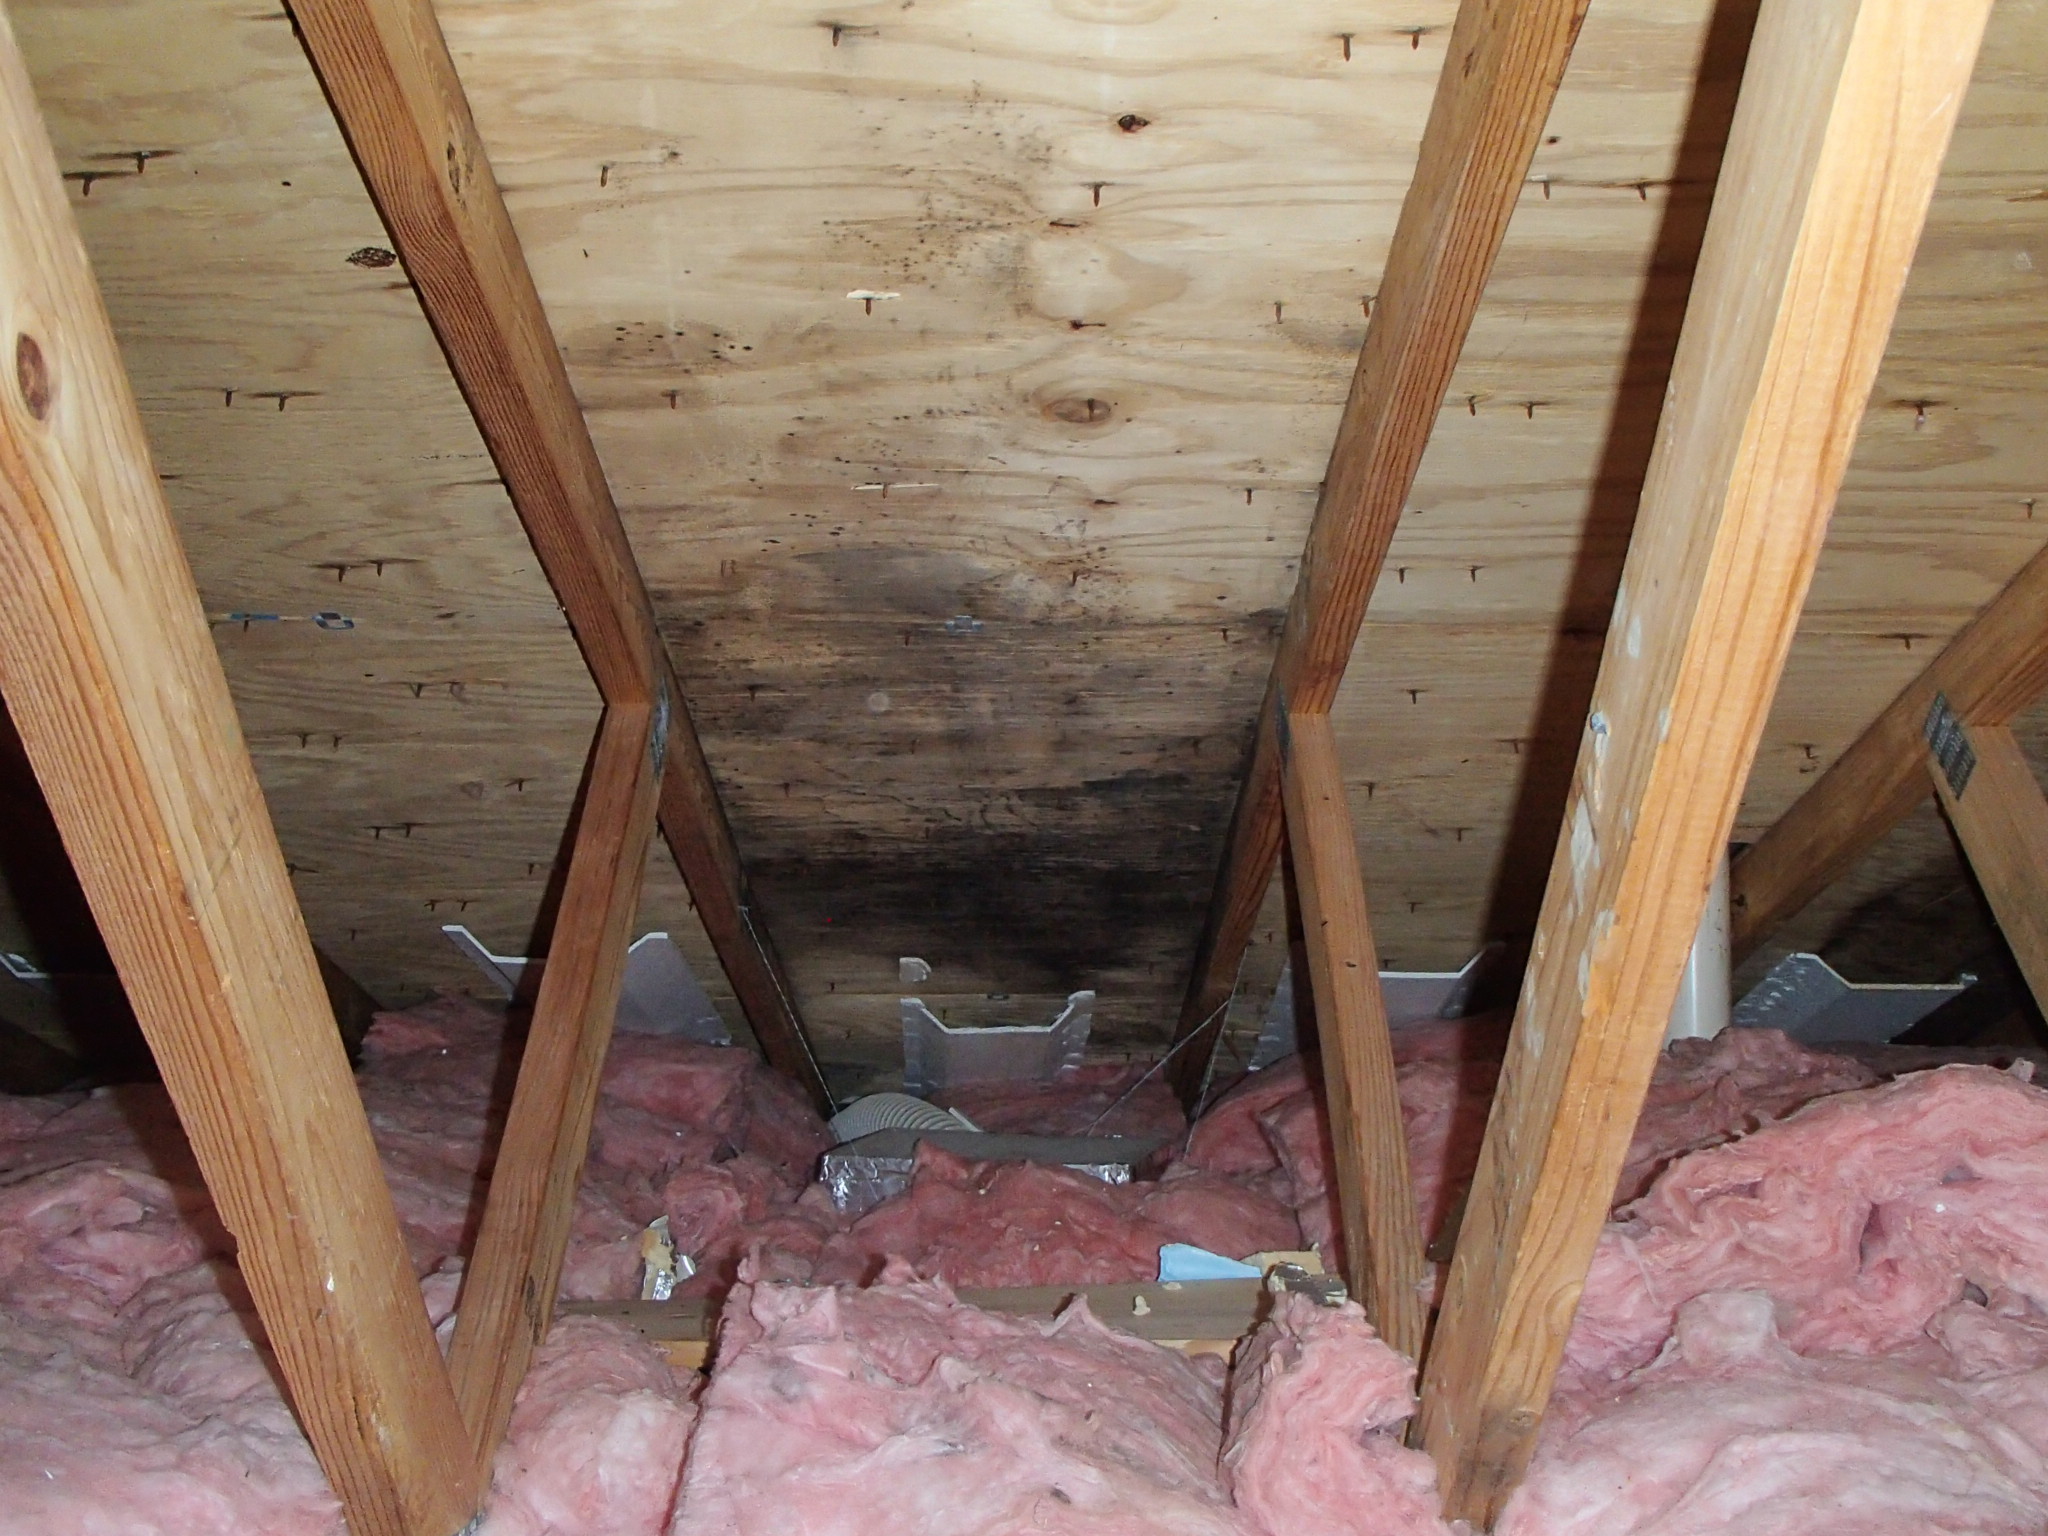
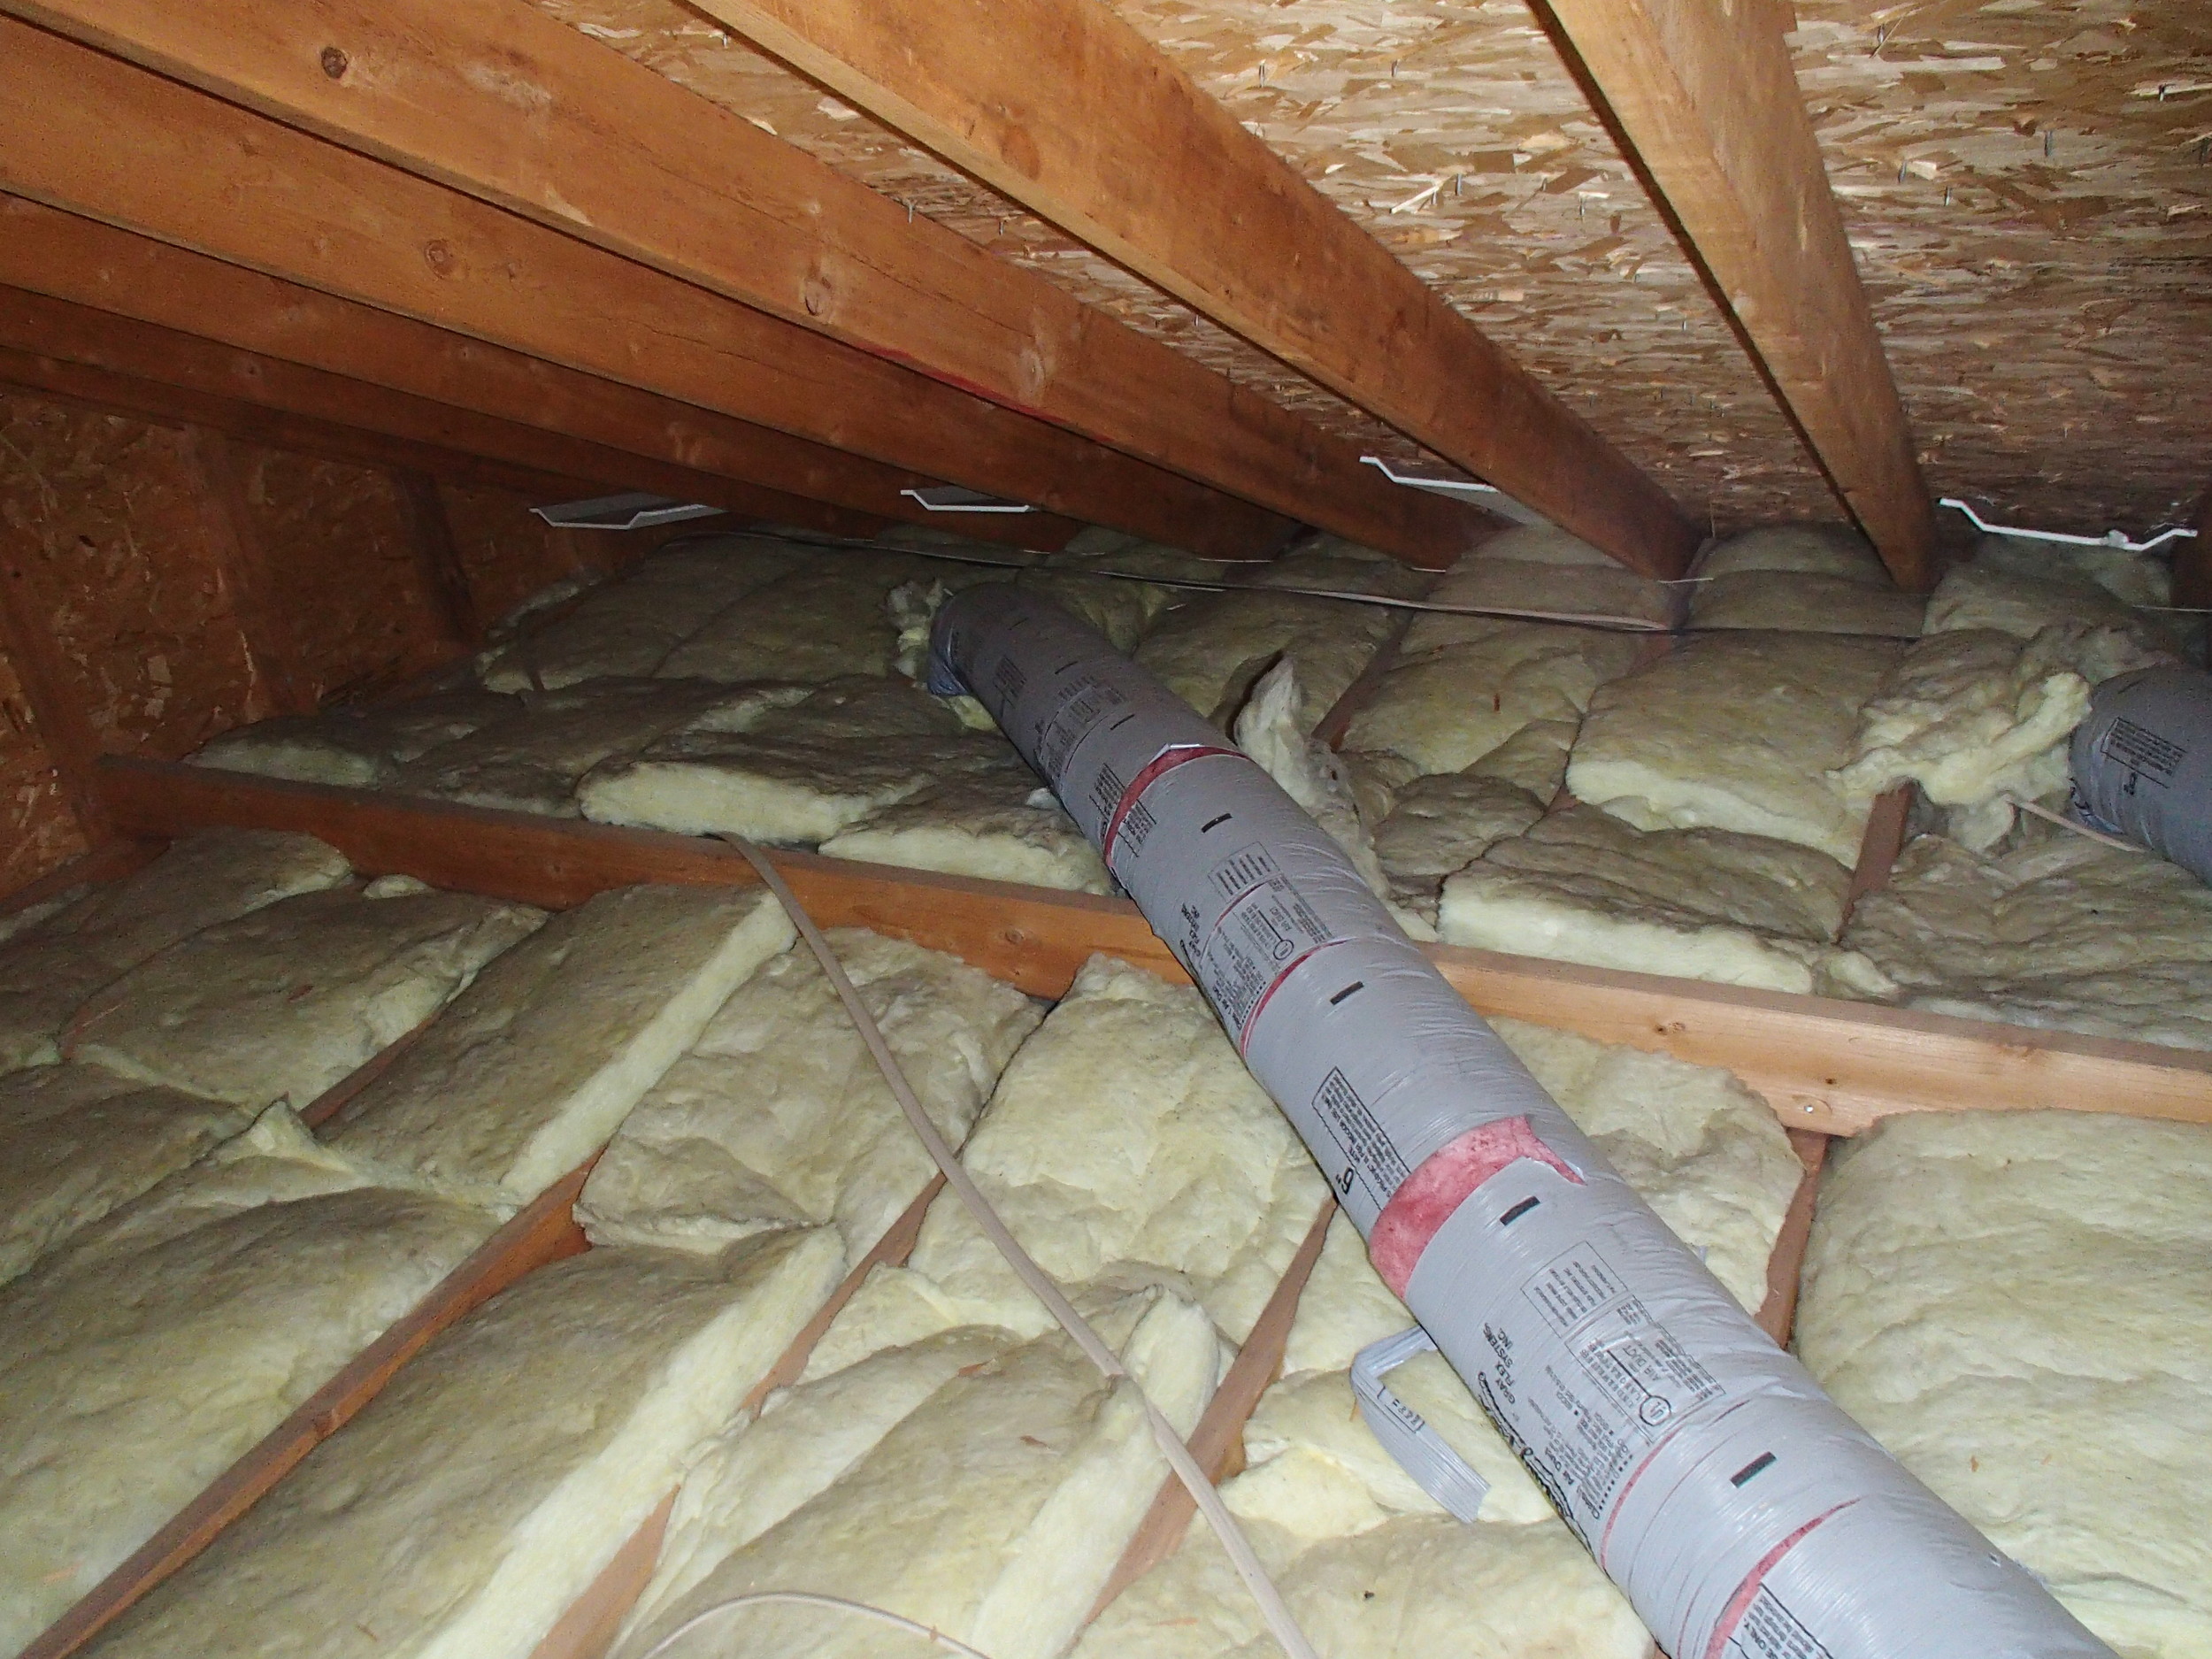
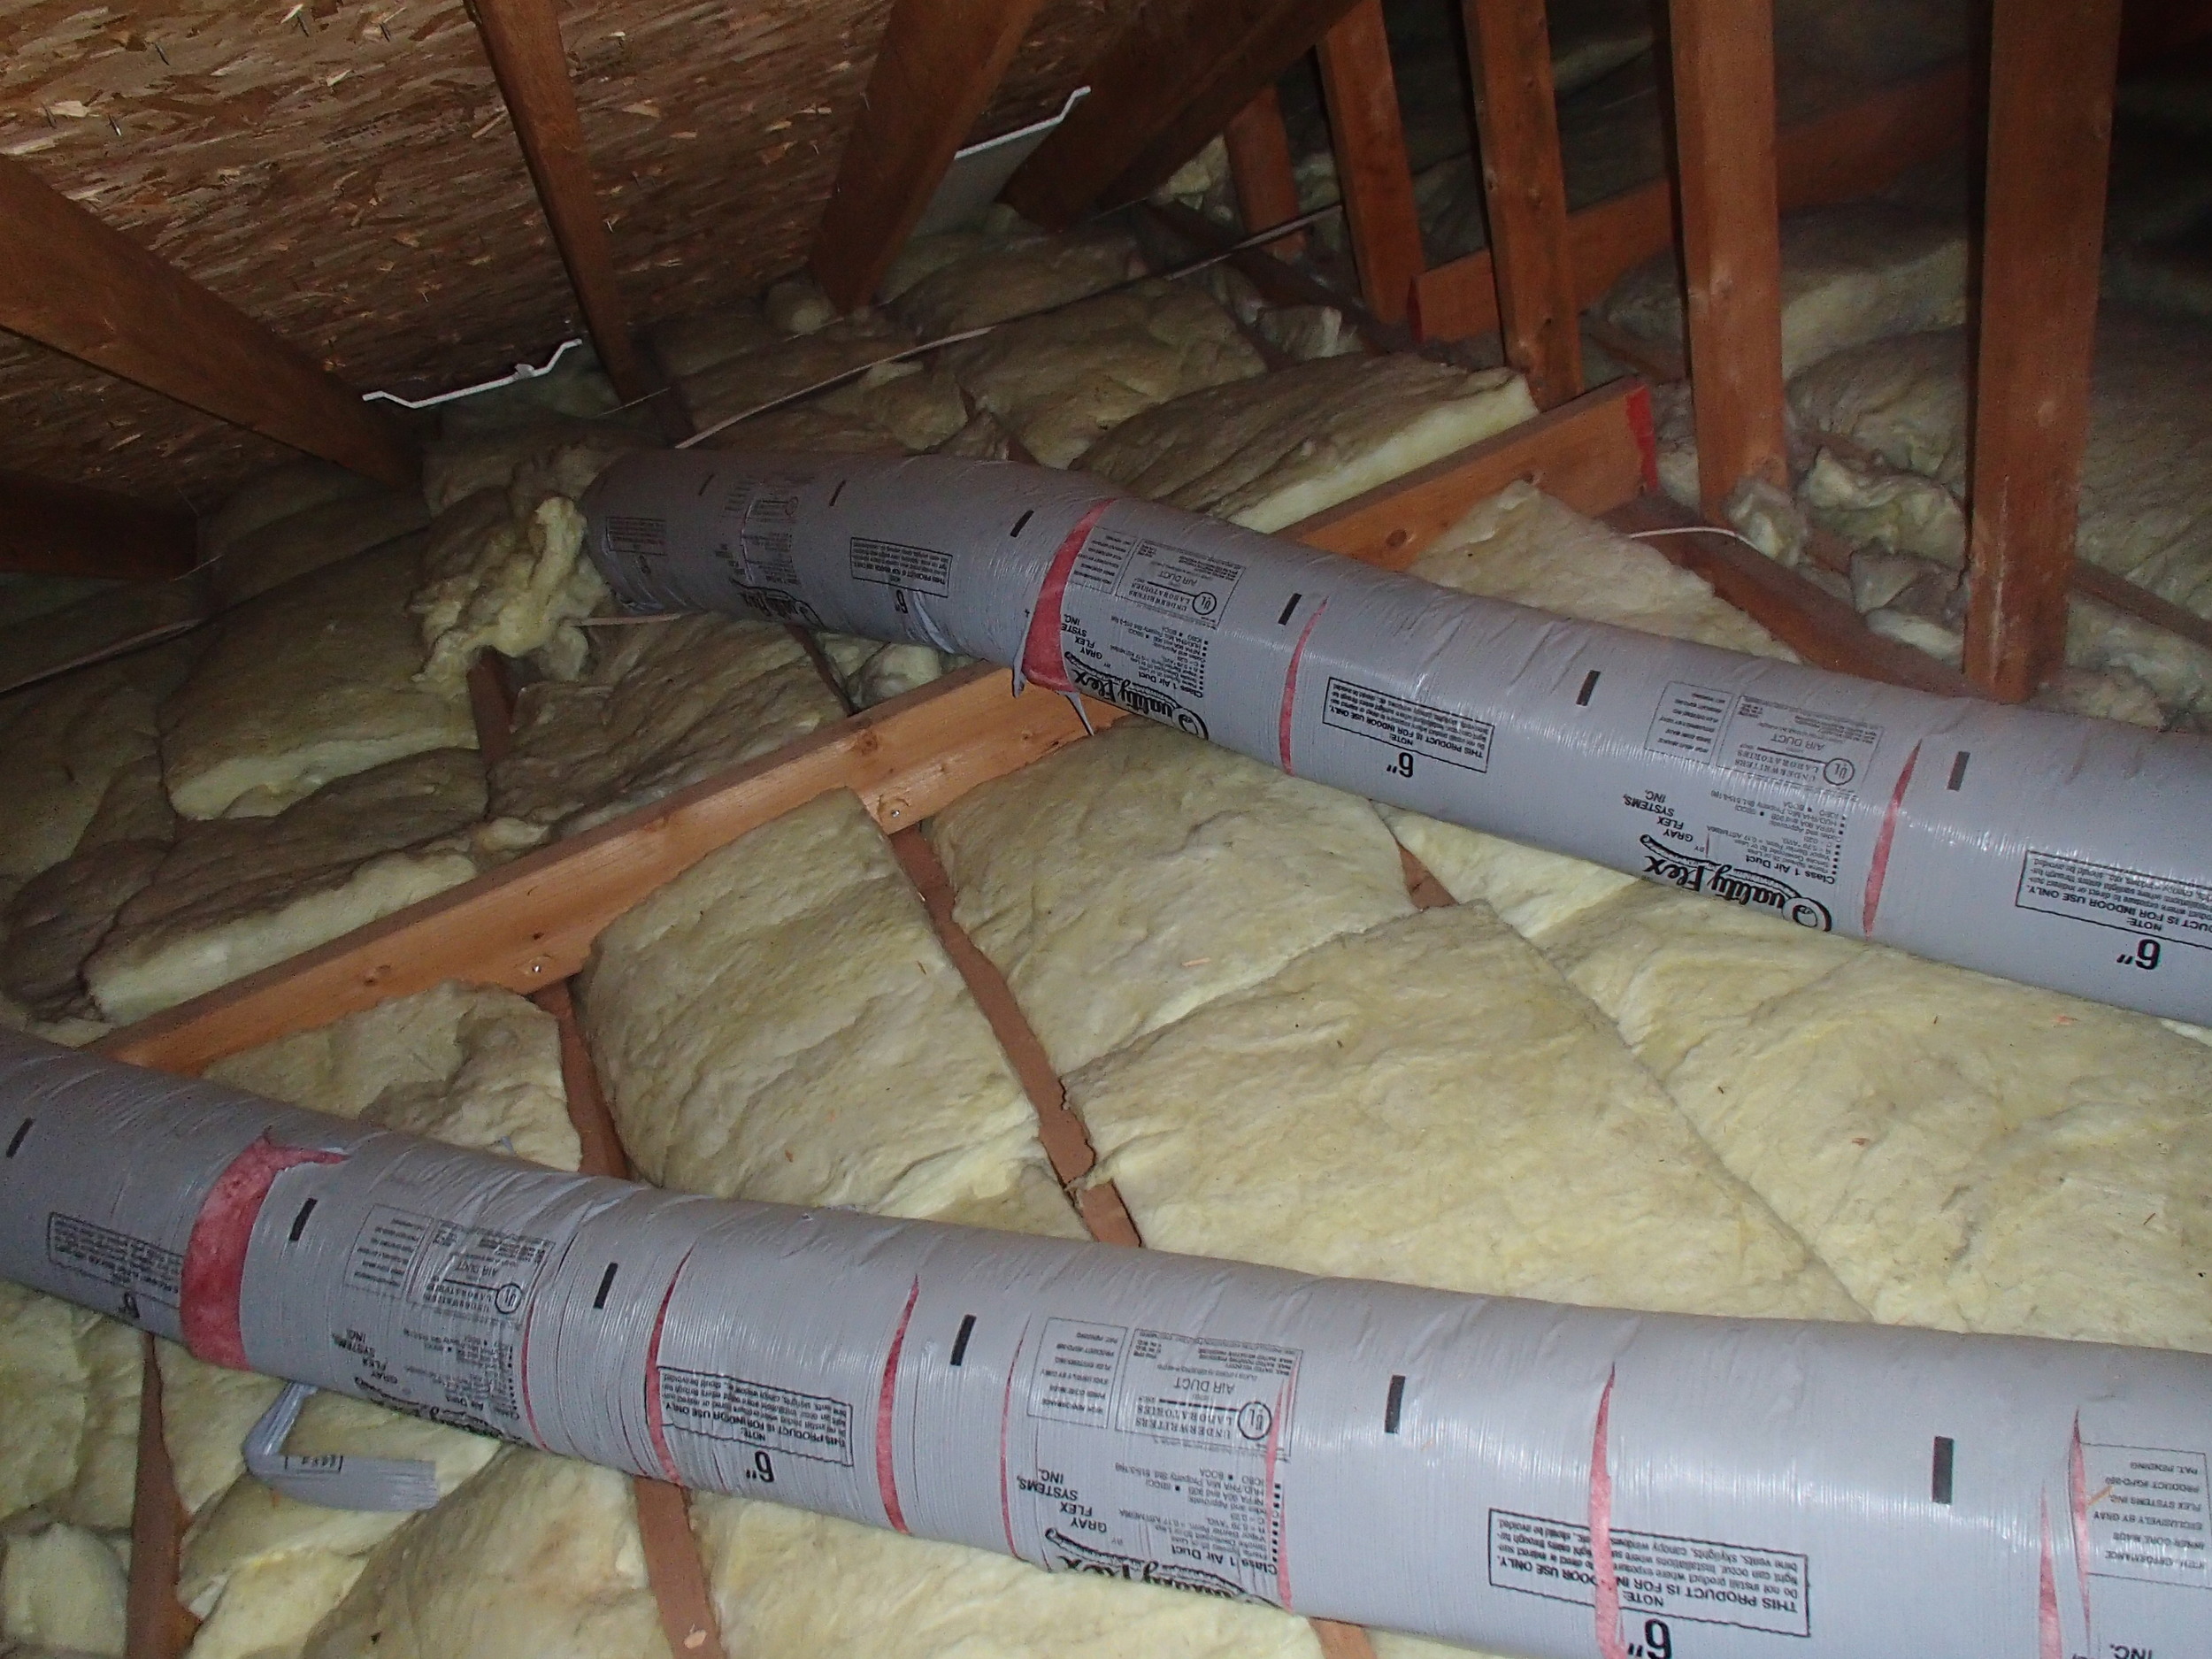
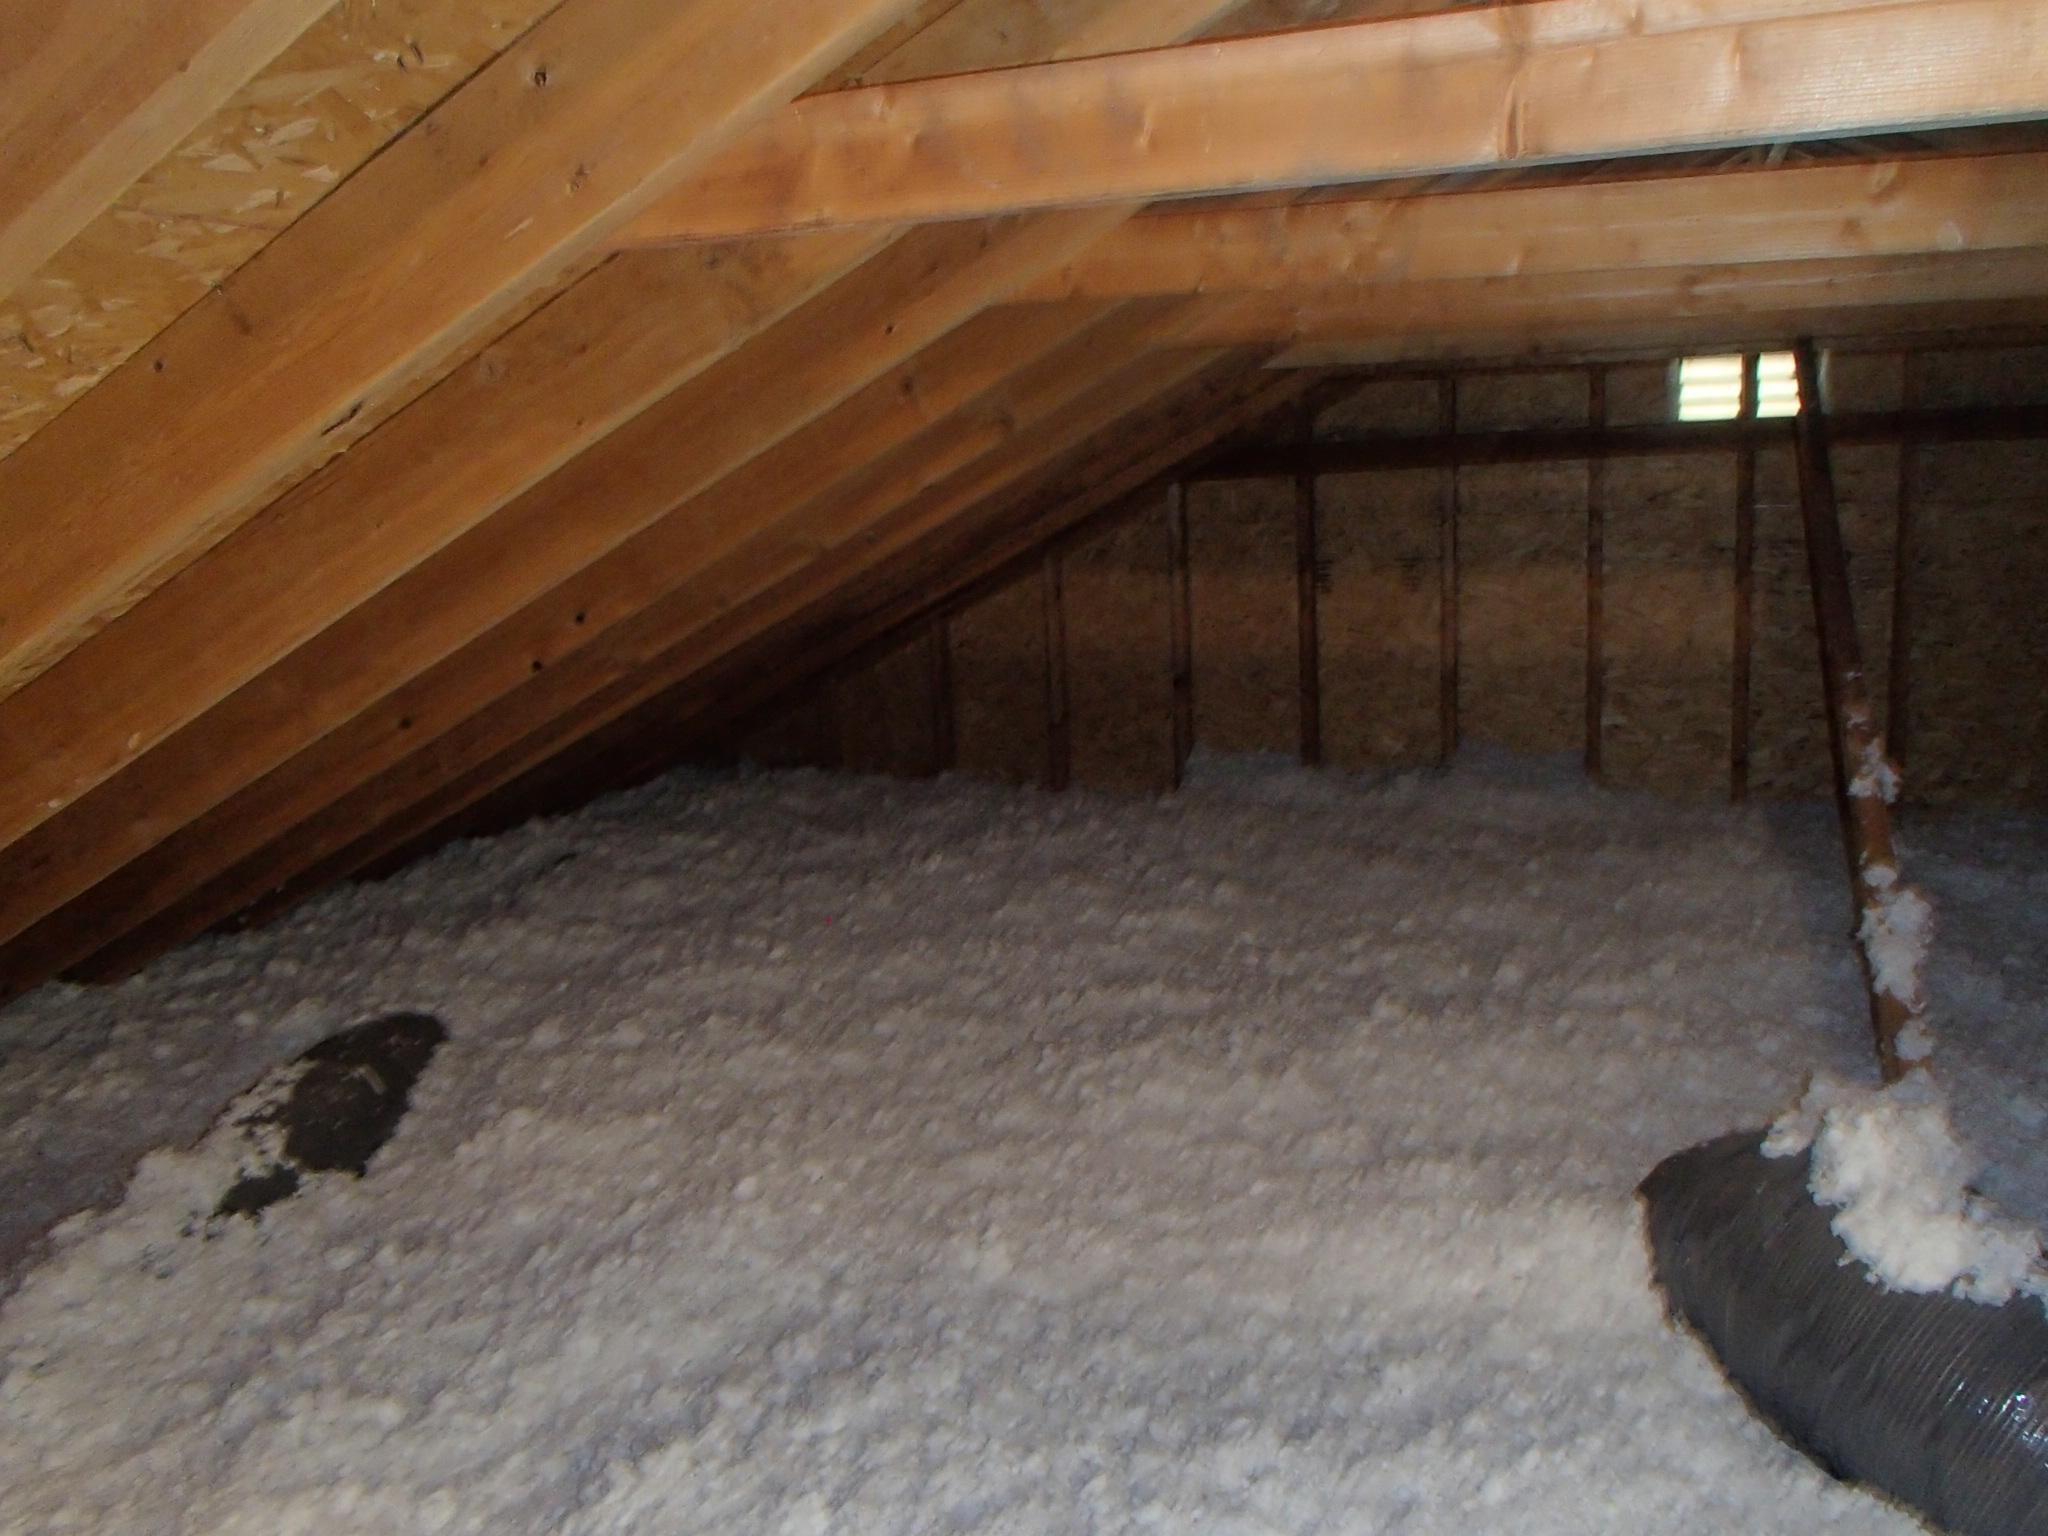
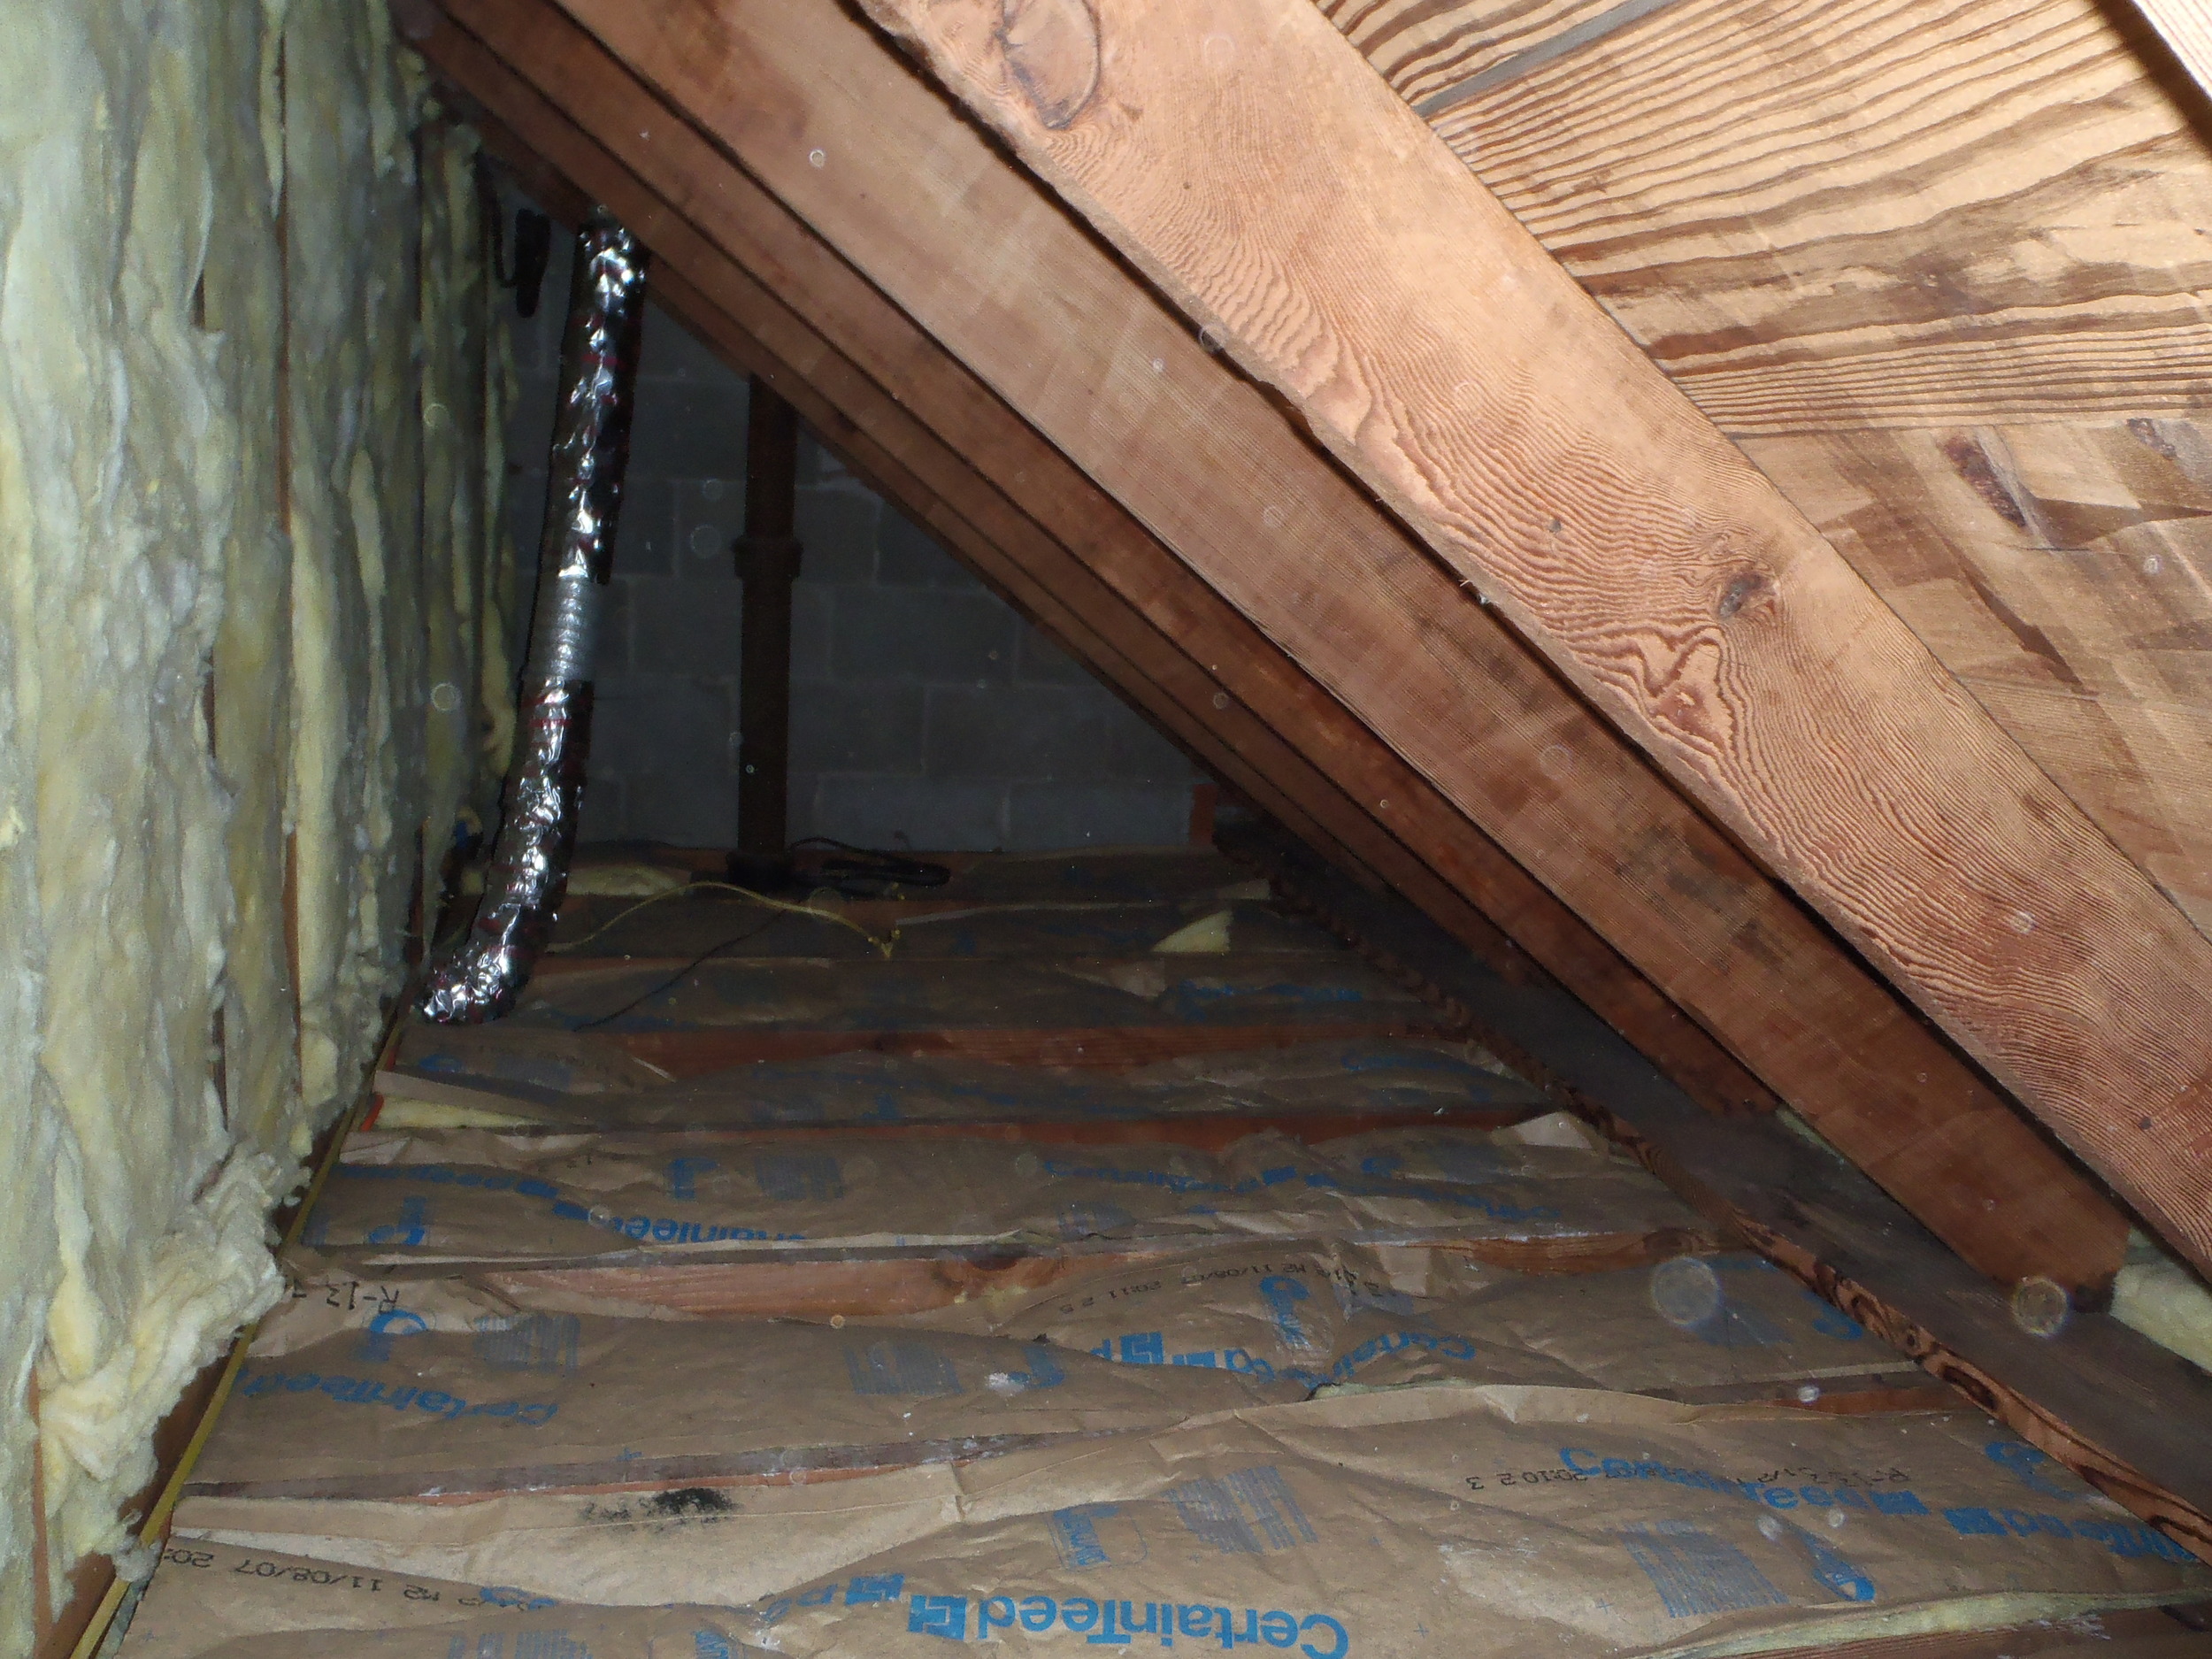
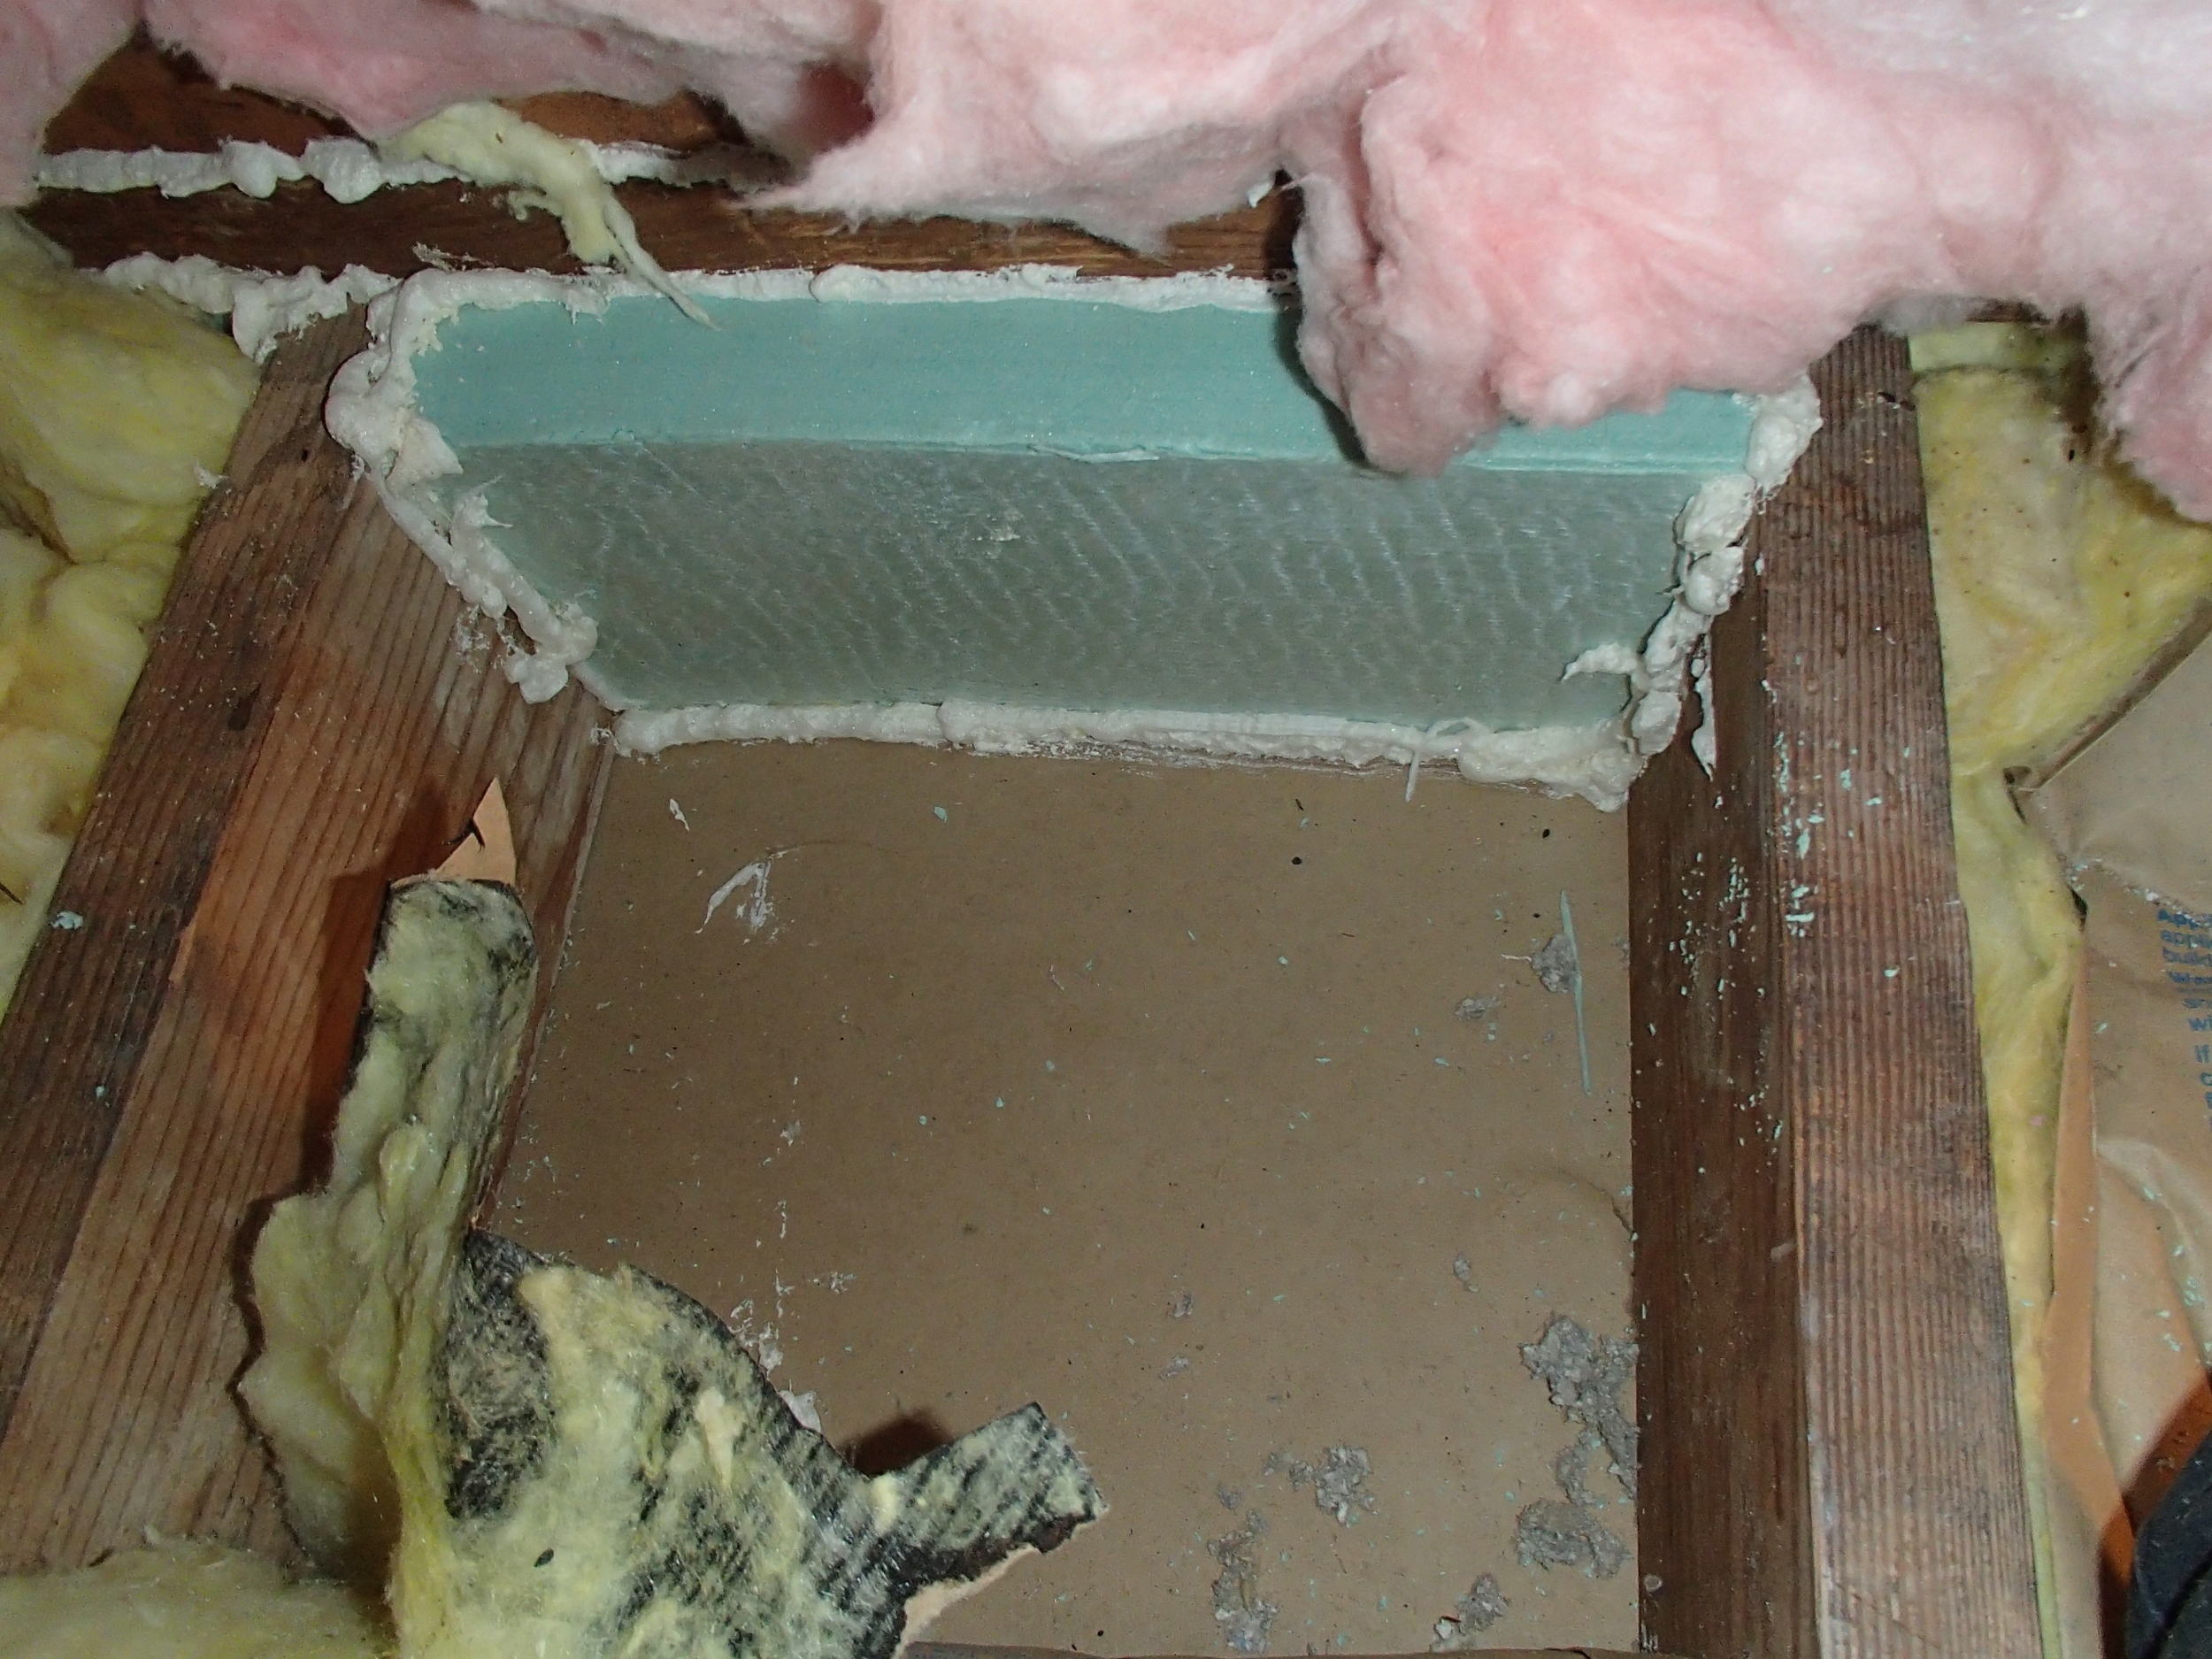
Crawlspaces may have stone or dirt floors, insulation in the joists above, duct work, and a bunch of junk!

When we address crawlspaces, the goal is to bring the crawlspace into the conditioned space of the home. To properly address the crawlspace we must:

  • Remove any junk
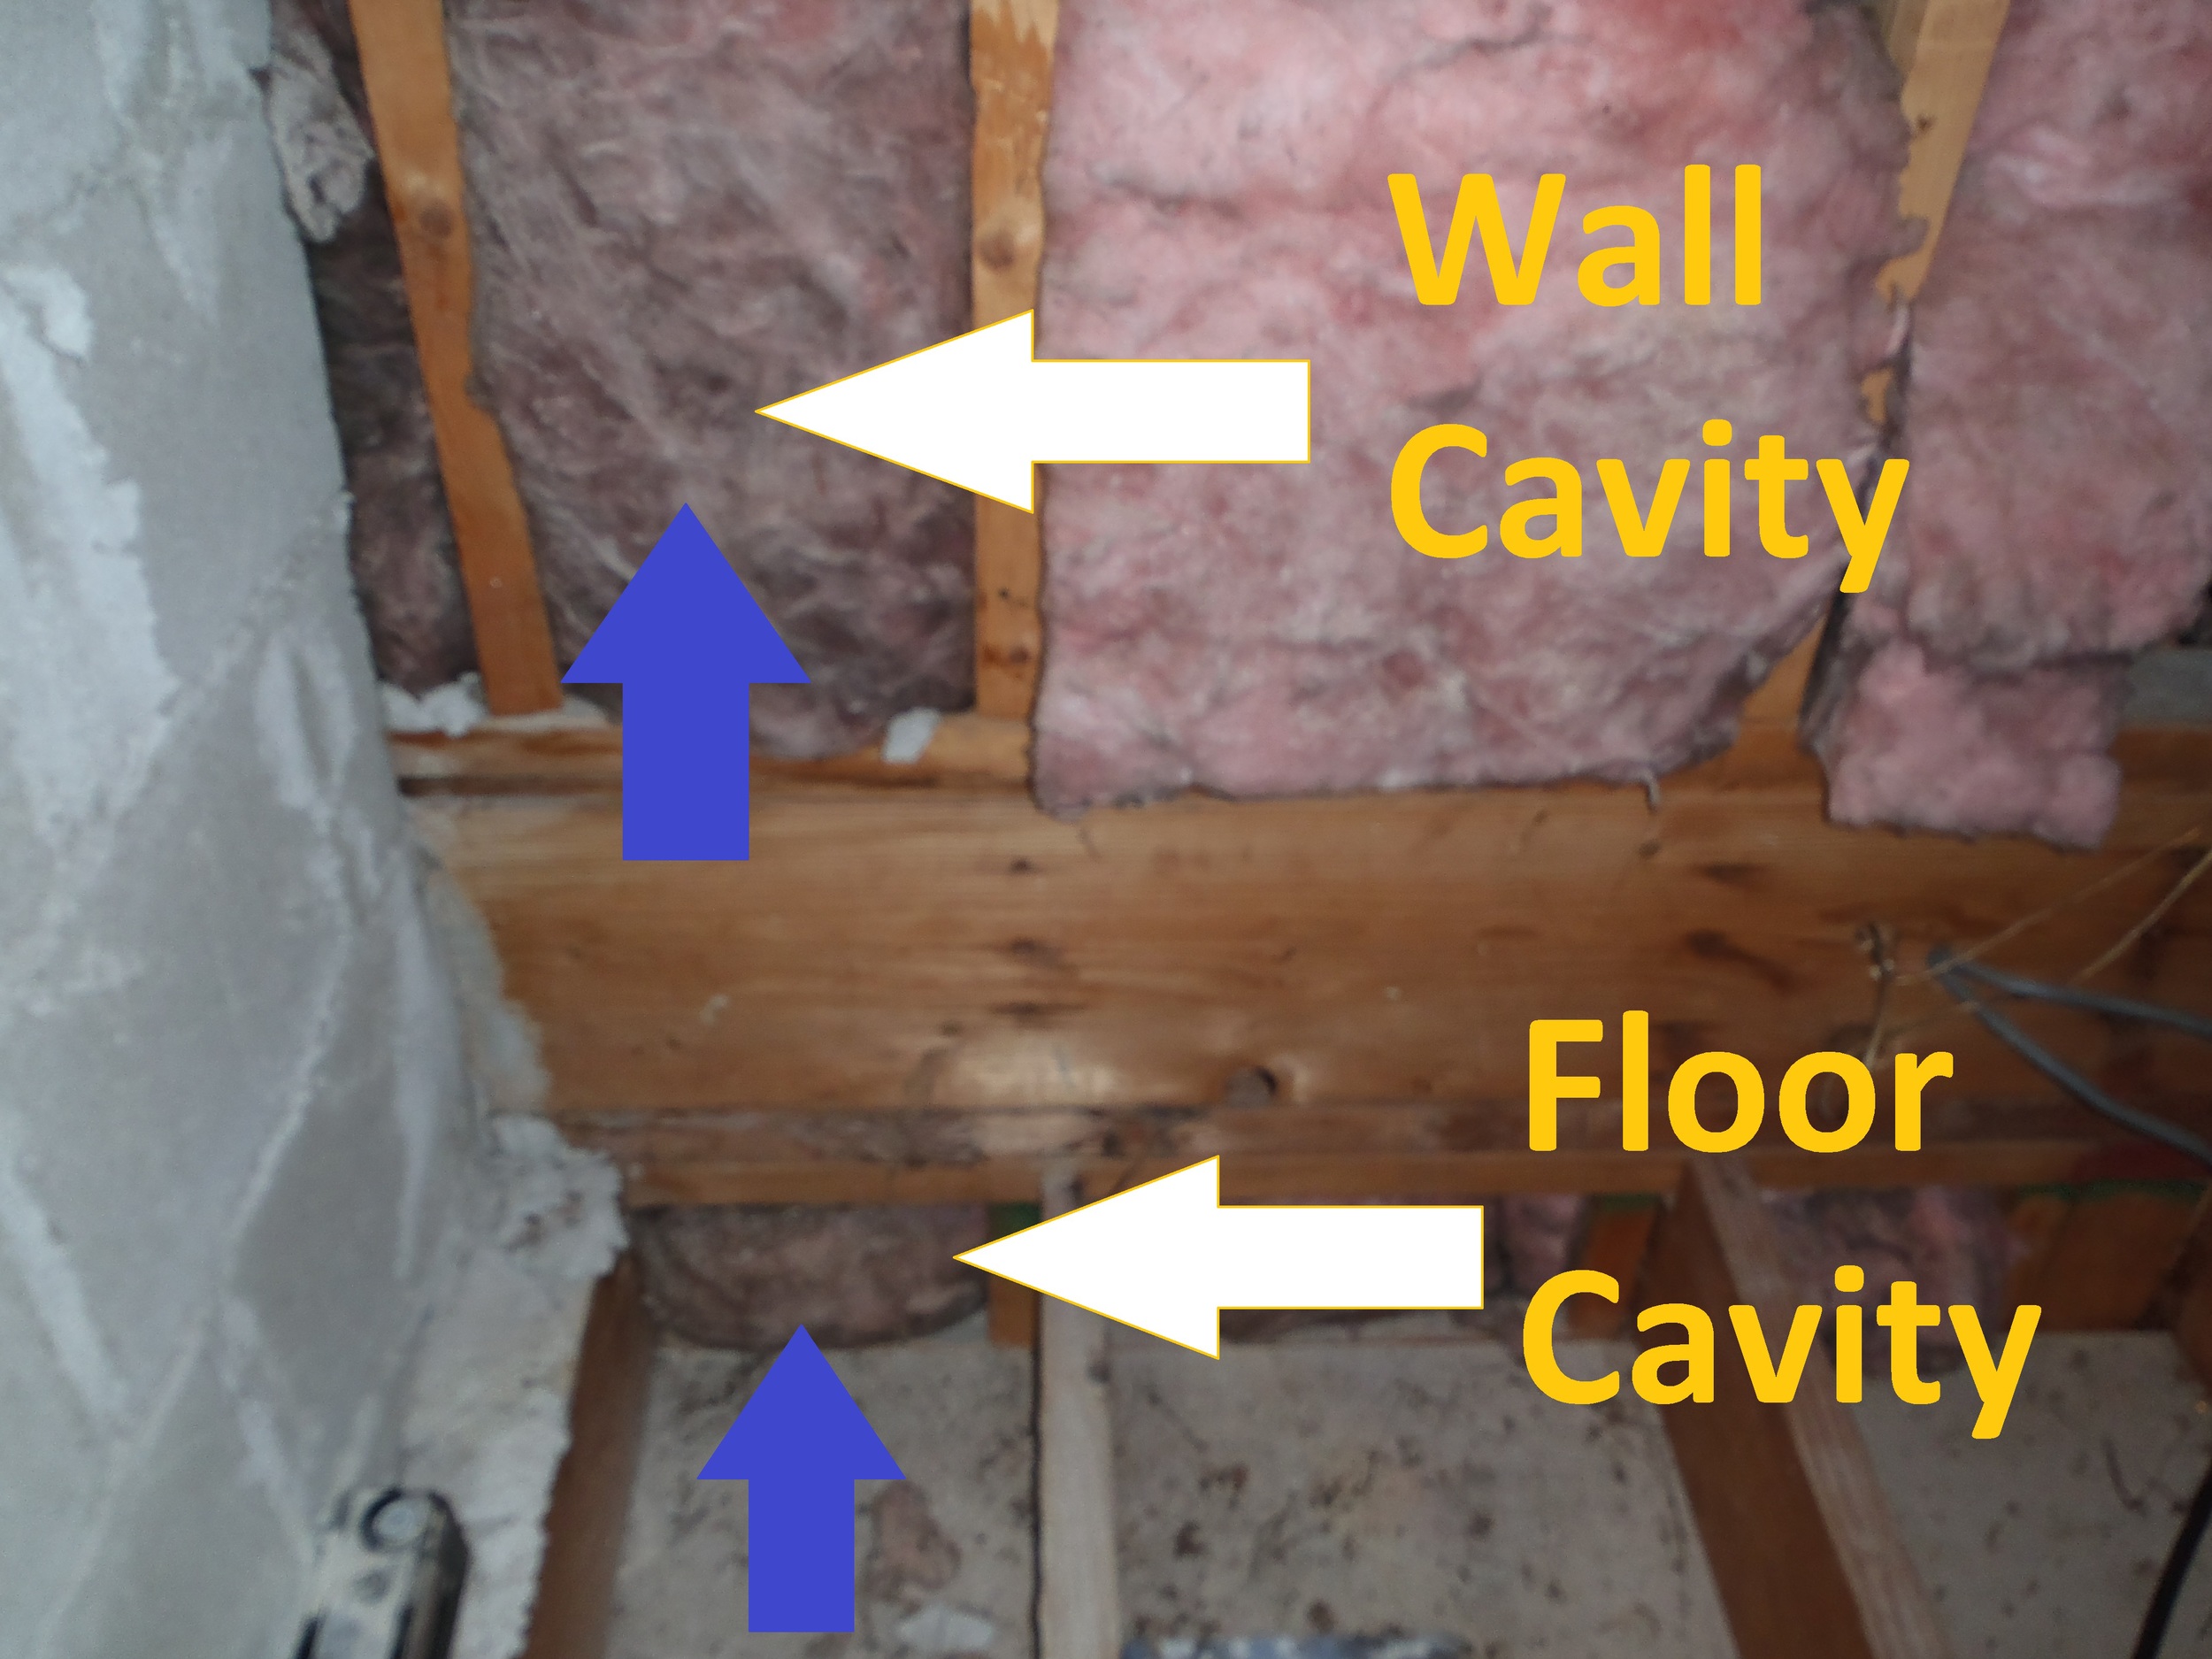
  • Remove the insulation from the floor cavities above
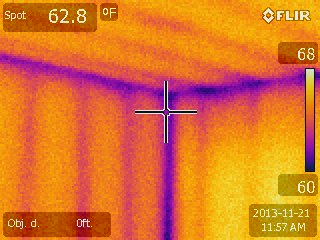
  • Check the duct work is air sealed properly
  • Add 2" foam board to the exterior walls
  • Spray foam the rim joist with 2" of 2 part spray foam
  • Install a thick vapor barrier to prevent moisture to rise up from the dirt / stone floor
  • Adhere the vapor barrier to the walls and pillars of the crawl space

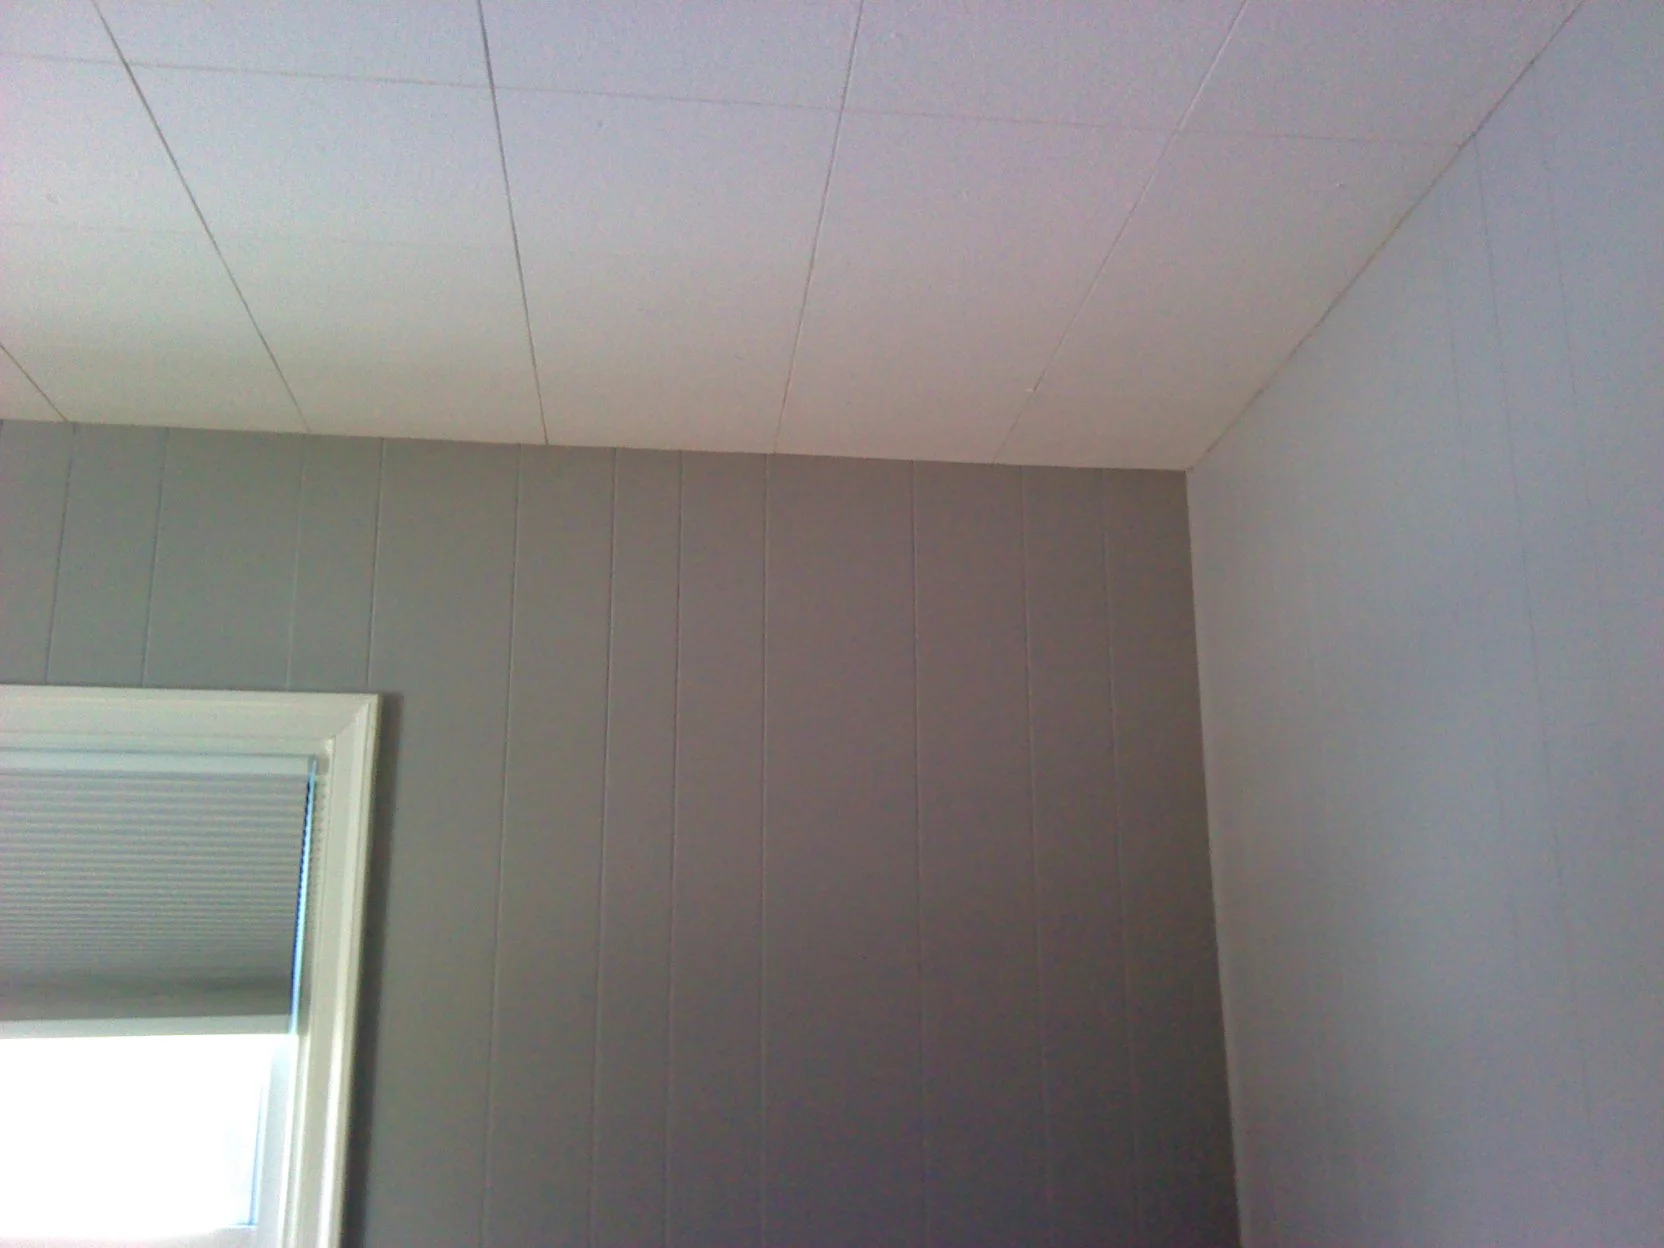
The finished product will look like this:

Now, doesn't this crawlspace look a little more enticing to crawl into?

Sellair recommends hiring professionals to perform this work. It is grueling and difficult work to make your crawlspace energy efficient while looking professional - just think how this professional job will raise your home's value! 

Where should you vent a bath fan?

Bath fans, or bathroom fans, are important pieces of equipment to remove moisture from your attic. Not long ago we watched a video online that was nicely edited - and the host spoke with confidence on how to vent the bathroom fan to the outside. In the first 30 seconds, he told us 3 wrong ways of doing it, thought he was convinced he was doing it right. Make sure you make the right choice for your home.

Why vent the bathroom fan to the outside? 

  • You want to remove moisture from your home. 
  • Taking hot showers can put a lot of moisture in your home. If the moisture is not removed properly from the home, you may have a mold problem on your hands. 

What happens if you do not vent the fan properly?

  • Strong likelihood of mold! Look below, the bath fan is vented to the soffit (not the way to do it)

The bath fan is located in the center cavity just below the eave chute. When a bathroom fan is vented into the soffit, it puts the moist are outside. Many contractors do this as it's easy and they do not have the proper knowledge. Then, due to how the attic ventilates, the moist air reenters the home right through the eave chute. As you can see on the other cavities, no mold / moisture problems!

What are the best practices of venting the bath fan to the outside, and why?

  • Vent to the outside - put the duct through the roof, air seal, install roof cap on the roof, and use tar to seal down shingles
  • Use rigid duct, not flex duct
  • Do not vent into the soffit nor in the attic
  • Use duct wrap insulation to insulate the ducting. This prevents chances of condensation in the winter

What are eave chutes?

Eave chutes, also called baffles, are a simple device used to help your attic ventilate properly. Eave chutes are very important to keep your soffit vents open so that your attic can ventilate from low to high. Typically homes use soffit vents as the low ventilation point to then ventilate to the top ridge vent (preferred) or gable vents. Attics should have ventilation, therefore we recommend installing eave chutes throughout the attic where soffit vents are located underneath. 

So what does an eave chute do?

  • Allows air to pass through the chute from the soffit vent to the top ventilation spot of the attic
  • Prevents insulation from blocking the soffit vent

What is important to remember when installing an eave chute?

  • Make sure the chute goes down into the soffit, must bend down into the soffit instead of sitting completely flush on the roof line
  • If using blown insulation, block off the eave chute at the base with batt insulation to help keep blown insulation from falling into the soffit

Any blown insulation tips with eave chutes?

  • The top of the eave chute should be above the blown insulation! If the insulation level is above the top of the eave chute, you are now blocking airflow
  • When blowing insulation, it is important to blow insulation from the base of the eave chute
    • Otherwise, an open blow may hit the middle of the eave chute, then swirl down in such a way that does not put insulation at the base. If blown improperly, a large portion of your attic could be un-insulated!

At Sellair, we review every attic to make sure it is ventilated properly. We install eave chutes to best practices, and make sure we blow insulation to fill your attic just right. 

Winter Wonderland

What should your attic look like? A Winter Wonderland. 

When we look at an attic, you ideally want to see it full of insulation. If you have blown fiberglass insulation, chances are it will be white. When we look at the photos below, what do we see?

We see fiberglass batt insulation and floor joists. In this scenario, being in the attic, we do not want to see any joists. If you see joists, then your home is under-insulated. After we finished the work, what do we see?

A Winter Wonderland!

Take a peek in your attic. If you do not see a Winter Wonderland, then you are under-insulated. 

What is bay blocking?

Fiberglass and cellulose insulation do not stop cold air. 

Floor cavities run under the entire floor. 

Exterior walls can stop cold air. But what happens when you have an interior wall where one side is conditioned and the other side is unconditioned? See the picture below:

What we see here is a wall cavity and a floor cavity. On the other side of the wall cavity is a wall. The cold or hot air that hits the insulation pass through but is stopped by the drywall on the other side. The wall cavity should be covered with either Tyvek or foamboard to stop the damage to the insulation from being hit by air. 

The floor cavity has nothing on the other side but more floor cavity. Cold or hot air pass through the fiberglass insulation stuffed in the cavity and passes through the entire floor (that can be under your bedroom, office, closet, etc). This is what makes knee walls especially cold in the winter. The solution is to bay block. Take foamboard and seal off the floor cavity to stop air from passing under the entire floor, as you can see below. 

Remember, bay blocking is a form of air sealing. Stopping air from entering or leaving the home can be dangerous if you air seal too much. At Sellair, we make sure to air seal the proper amount to keep you safe, energy efficient, and comfortable. 

Dangers of Too Much Air Sealing

Every home has to breathe. Air has to enter and air has to leave. Otherwise, pollutants can stay in the home and affect your health. Moisture can build up and damage the home's structure and/or create mold. We are certain that you want to be healthy and have a solid home structure to have a good resale value. 

We talk so much about air sealing because it is so important to limit the amount of air changes occurring in a home. There are a lot of companies out there who will spray foam your wall cavities, attic spaces, basement spaces - or will even rent you the equipment to do it yourself to save a few bucks. The thing they do not do is actually test your home for air infiltration. Effectively they seal up your home, stop air from entering, but have no idea how much should be entering and much actually is entering. Sounds a little unsafe to me. 

Every home has a standard level of how many air changes it needs per hour called the Building Airflow Standard. This is easily calculated after finding the volume of your home. Next, you need a blower door test to confirm how leaky or tight your home is. You may seal up to 70% of the BAS levels before needing mechanical ventilation to bring more air into the home. 

At Sellair, we want to air seal properly. We want to make sure your home is left with proper ventilation so that you can feel confident knowing that your home is not only more comfortable and energy efficient, but that your home is also attaining the proper amount of ventilation because it was air sealed the correct amount. 

The right thing to do is to get an Energy Audit before air sealing your home. Then after air sealing is completed, run the blower door again to confirm your results. If you air seal too much, bring in mechanical ventilation to the home. This will give you adequate amounts of airflow and filter pollutants in the home. 

While this may be a lot of information, we are here to educate you. Please contact us if you have any questions or concerns regarding this process. 


What is air sealing?

Air sealing is the act of using a material to stop air from passing between two spaces. 

When we look at homes, we want to create a continuous thermal envelope. What this means is that we want to separate conditioned spaces from unconditioned spaces. Your attic that has insulation in it (or should have insulation) is what we call an unconditioned space. Here, you are not living in the attic. You are not heating it, nor are you cooling it. Therefore we want this to be separated as best as possible from the living space. Do you want hot air from the attic to come into your bedroom in the summer while you're trying to live in air conditioning? No! To prevent that, you need a continuous thermal envelope.

Now that thermal envelope we were talking about. If you are upstairs in your home, in a living space, and you look up, you should see a drywall ceiling. Drywall is a material that air seals. The drywall prevents air from passing between your nice, conditioned home and the unconditioned attic. Below is an example of a drywall ceiling with an attic hatch. 

What we are looking at is part of the thermal boundary. The attic hatch leads to the attic. We want to keep the two spaces separated. But what happened? The builders created an access to the attic and did not seal it off properly. They cut a hole in your drywall barrier. As soon as holes go in your drywall barrier, air can now pass between those spaces. Look at the the thermal image, air is passing between those two spaces. The solution is to air seal the attic hatch to prevent air from passing between the two spaces. 

Below is another example of what happens when you have a break in your thermal boundary. The drywall ceiling remains all one temperature, indicated as yellow in the picture below, but by installing a vent there are now air changes occurring between the two spaces. 

Air sealing can be performed in a variety of spaces in the home. They include attic spaces, knee walls, crawl spaces, basements, garage attics, exterior doors, recessed lights, and others. 

By blocking air from moving between a conditioned space and unconditioned space, the home will be more comfortable and efficient. 

The problem is that you want to make sure the air sealing work is performed properly, targeted in the areas that need it, and that you do not seal up the home too much. 

Stay tuned for the next blog post where we discuss the dangers of air sealing.

What is a knee wall?

A knee wall is probably the LEAST COMFORTABLE and most ENERGY INEFFICIENT part of your home. 

A knee wall is an area you've seen hundreds of times and may have no idea what it is till now. 

A knee wall is also an area that do-it-yourselfers normally 'fix' wrongly. 

Physically, a knee wall is an area of a home that would normally be a full attic space. Instead of a full attic, a room is built in that space. The room is typically conditioned (heated and/or cooled) and is drywalled off. 

Now what does a knee wall look like? A few key indicators that you have a knee wall:

  • Low sloping ceiling with attic or roof space above that leads down to a wall. The blue wall in the picture below is the knee wall. 
  • An attic access that is perpendicular to the floor

From the inside of the attic, a knee wall looks like the image to the left. The wall on the left with yellow insulation is the same wall as the blue wall in the image above. As you can see in the image below, the joists run perpendicular to the wall, which means the joists run below the floor of the living space. As insulation does not stop air flow, cold air in the winter can pass under your floor as well as hot air in the summer. As a side note to this image, the insulation on the knee wall floor was installed upside down. About half of the Do-It-Yourselfers install insulation incorrectly.

From the outside, what does a knee look like? Below is a picture of the same house. The orange represents the walls that form the conditioned space in the bedroom. This is the livable space shown in the first image of this blog post. 

Then you can see the ventilation where air enters into the knee wall space. Unwanted air will travel under the floor, causing discomfort and a severe lack of energy efficiency. 

Now, what are the solutions?

We want to air seal any penetrations or top plates, as we do in all attic spaces. But then for the knee wall, it's important to air seal the wall with Tyvek or foamboard. This will help reduce the wind damage on the insulation to keep it in good shape as well as increase its effectiveness. Then, we bay block the cavities to create a continuous thermal boundary, and block air from passing under the floor. 

Knee walls are tight, complicated areas. Our recommendation is to get an energy audit to first determine your home's air leakage. The recommended solutions all stop air from entering or leaving the house. Not knowing your Building Airflow Standard nor your blower door number can be severely dangerous as you air seal. Air seal too much, and you can create moisture and health problems - bad for both the inhabitants and the home. 

Our recommendation is to get an Energy Audit and have those knee walls air sealed and insulated properly.

Do you need wall insulation?

Do you need wall insulation? The short answer, yes.

Now for the long answer: 

Wall insulation is always good to have in the home. The chances are if your home was built in the 1970's or later, you have wall insulation. We hear a lot of homeowner complaints about cold rooms and drafts because "my walls aren't insulated!" Most times this is due to air penetrations from attic top plates or from the basement rim joist.

To the right, we see a thermal image of a room. As this test was performed in the winter, the blue spots are cold air infiltration caused by attic penetrations from above. You can see thin blue lines which are the joists. The reason it is warm between the joists is because there is insulation in the wall cavities. This particular home was built in 1969.

The home in the images below was built in 1947, and does not have insulation in the wall cavities. 

Not having insulation in the wall cavities is obviously a concern, but we also noticed the home was not properly air sealed in the attic, knee walls, nor the basement. Without touching the walls, we reduced the homes airflow by 55% - a personal record for us - by bay blocking the knee walls, air sealing the attic, and spray foaming the rim joist. Upon completion of the work, the homeowners felt an immediate impact in comfort.

In fact, the investment to insulate the walls would be nearly as much as air sealing and insulating the attic, knee walls, and basement. Not only would it cost nearly as much, but it was not be as effective as the approach we took since the air would still escape out the attic at far too high of a rate. More importantly though, it was impossible to put insulation in these wall cavities as the cavities were not deep enough.

So what does putting insulation in the wall cavities involve? It involves drilling a hole in each cavity, then pumping insulation into the cavity, followed by plugging up the hole. 

As you can see, insulating wall cavities is a very invasive process. It can provide good benefits, but we recommend addressing the attic and the basement of the home before insulating the wall cavities. 

So the long answer made short: yes, you should insulate your wall cavities if you have no insulation in the walls, if the wall cavities are deep enough to be insulated, and only if you addressed your attic and basement first. 

Rental Hunter's Guide to Energy Efficiency

Rentals come in all different shapes and sizes. Finding the right place can be difficult. Most times we are more concerned with location and aesthetics than we are with how much those utility bills might cost us. Most likely, landlords will do enough to make the space habitable but not energy efficient. So here's your quick guide of Do's and Do Not's on getting energy efficiency in a rental property. 

Do Not

  • get an apartment on the first floor with no insulation or air sealing between the apartment and basement
  • get an apartment on the top floor with little to no insulation or air sealing in the attic space
  • get an apartment with single pane windows
  • live in a room with knee walls that are not air sealed properly
  • have hot water through an oil boiler with domestic hot water
  • live in a room with recessed lights leading to an attic space unless they are air sealed properly - this is a potential fire hazard and energy loss
  • get oil heat - unless apartment is well air sealed and insulated
  • get electric baseboard - unless apartment is well air sealed and insulated

Do

  • try to find an apartment where heat and hot water are included in rent
  • look for gas heat or high efficiency heat pump
  • look for central air when available - this is more comfortable and efficient than window A/C units
  • use a programmable thermostat
  • upgrade to CFL or LED (preferrered) light bulbs - then swap out and take them with you when you move to a new residence

Sticky, Muggy, Summer

Summer is steadily approaching, and I'm sure we are all ready for some warm weather after the polar vortex winter we just had. But sooner than you think, you'll wish your home was cold again as you combat the sticky, muggy summer air. 

One solution is to turn up your air conditioning, which will help take some of the humidity out of your home and make it more comfortable. But this can also cost a fortune, and may not even do the trick of keeping you comfortable. 

The best solution - seal those top plates and penetrations in your attic! They let air escape year round, and actually force that hot air from your attic into your home during the summer. All of the unsealed top plates and penetrations in your attic is equivalent to leaving a window open in the summer. So - what are top plates and penetrations? Look below!!

Top plates are shown left and penetrations are shown on the right. Top plates run around the entire attic. The are areas where multiple different building materials come together and consequently have gaps between the materials since they are not sealed together. Most interior walls of the home will have top plates above them that need to be sealed with foam.

Penetrations, shown to the right, come mainly in the form of plumbing and electrical penetrations. They are holes that connect right to your nice air conditioned parts of the home, and should also be sealed with foam.

From the infrared perspective, you can see below how the air leaks from the attic through the top plates into the home.

As you can see, blue spots run along the top areas of the walls where they meet the ceilng. Above those spaces in the attic are top plates and penetrations that need to be sealed. 

Stay cool this summer, and keep efficient. Air sealing & Insulation will help you year round.

Contact us for a free energy consultation. Learn how to keep cool in the summer and save money year over year. 

The Blower Door

The blower door is an essential tool to determining how to fix your home's comfort and energy efficiency problems. It is very difficult to determine the leaky and troublesome spots of your home  without the blower door - as well as impossible to find the actual air infiltration level.

Every home has to breathe. Air has to enter the home, and air has to leave. Sufficient air flow in a home helps clear the home of pollutants, carbon monoxide, and moisture (a.k.a. mold's best friend). Too much air flow makes the home drafty, uncomfortable, and inefficient.

By taking the volume of the home, and a few other factors, we can scientifically determine how much air should enter and leave your home - also called the Building Airflow Standard or B.A.S. By using the blower door, we can determine the actual infiltration of air into your home. 

Since we now know the home's actual air infiltration and the B.A.S, we can figure out how much the home may be air sealed. By minimizing the air infiltration, the home is now more comfortable, energy efficient, and safe.